
Are your files swelling up like a banana in the sun? Whether it’s a hefty video, a bloated PDF, or a mountain of photos, keeping your file sizes in check can be crucial, especially if you’re running low on storage. Fear not! Your Mac has all the tools you need to tame those file sizes without breaking a sweat. Let’s dive into some simple methods to compress files on your Mac, ensuring you won’t have to monkey around with storage issues any longer!
Table of contents
- Method 1: How To Zip Files Using Safari Browser
- Method 2: How To Zip Files Using Finder
- Method 3: How To Reduce Image Size Using Online Tool On Mac
- Method 4: How To Compress Images and Photos Using Preview on Mac
- Method 5: How To Reduce Video File Size With Online Service
- Method 6: How To Compress Videos Using iMovie On Mac
- Method 7: How To Reduce PDF File Size Using Preview
- Method 8: How To Reduce MP3 Size using iTunes On Mac
- Frequently Asked Questions About Making Files Smaller on Mac
How To Zip Files Using Safari Browser
Another approach that doesn’t require any new software is to use your web browser, with ezyZip!
- Navigate to the zip files or zip folder page on ezyZip.
- Select the file or folder you wish to compress.

- Click “Zip Files”. It will start compressing the files.
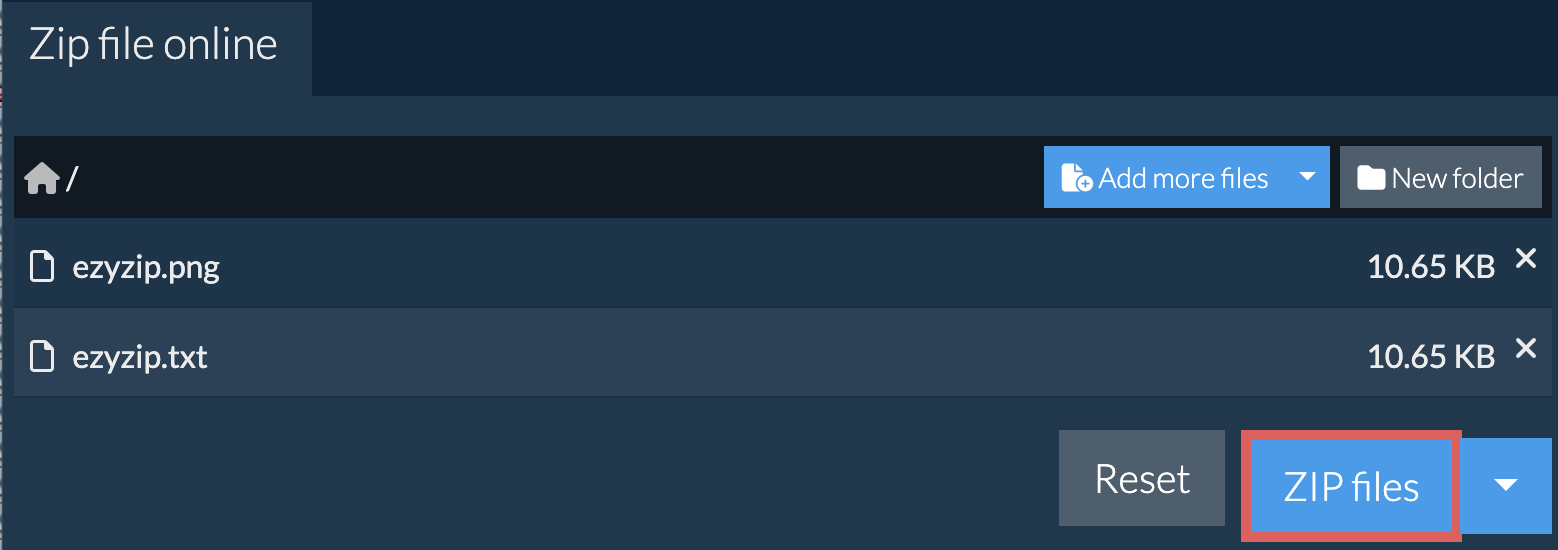
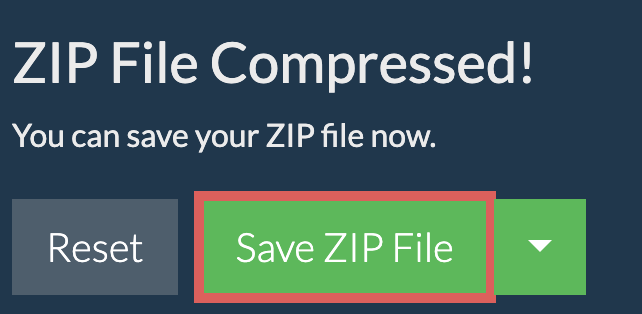
- Click “Save ZIP File” to save the archive to your local drive.
How To Zip Files Using Finder
When it comes to zipping files, it’s not just a jungle out there—it’s a whole safari!
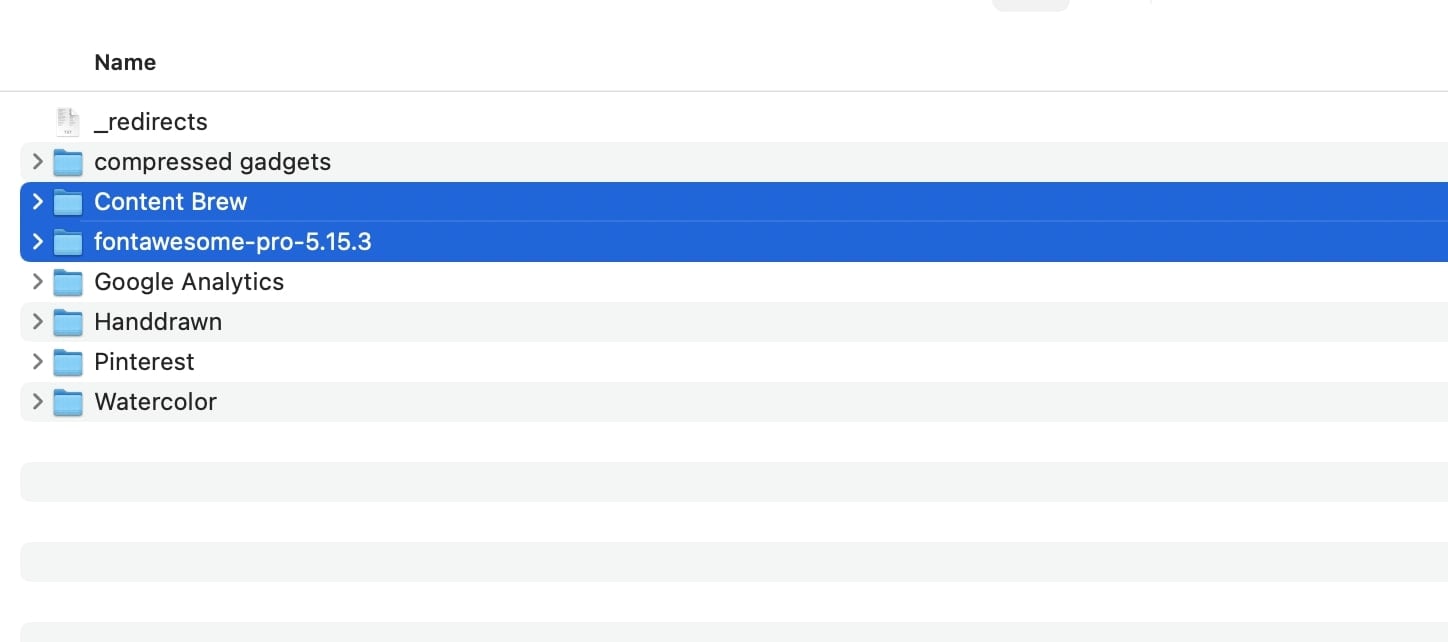
- Select the files or folders: Locate the files or folders that you want to zip. You can select multiple items by holding down the Command key while clicking on each item.
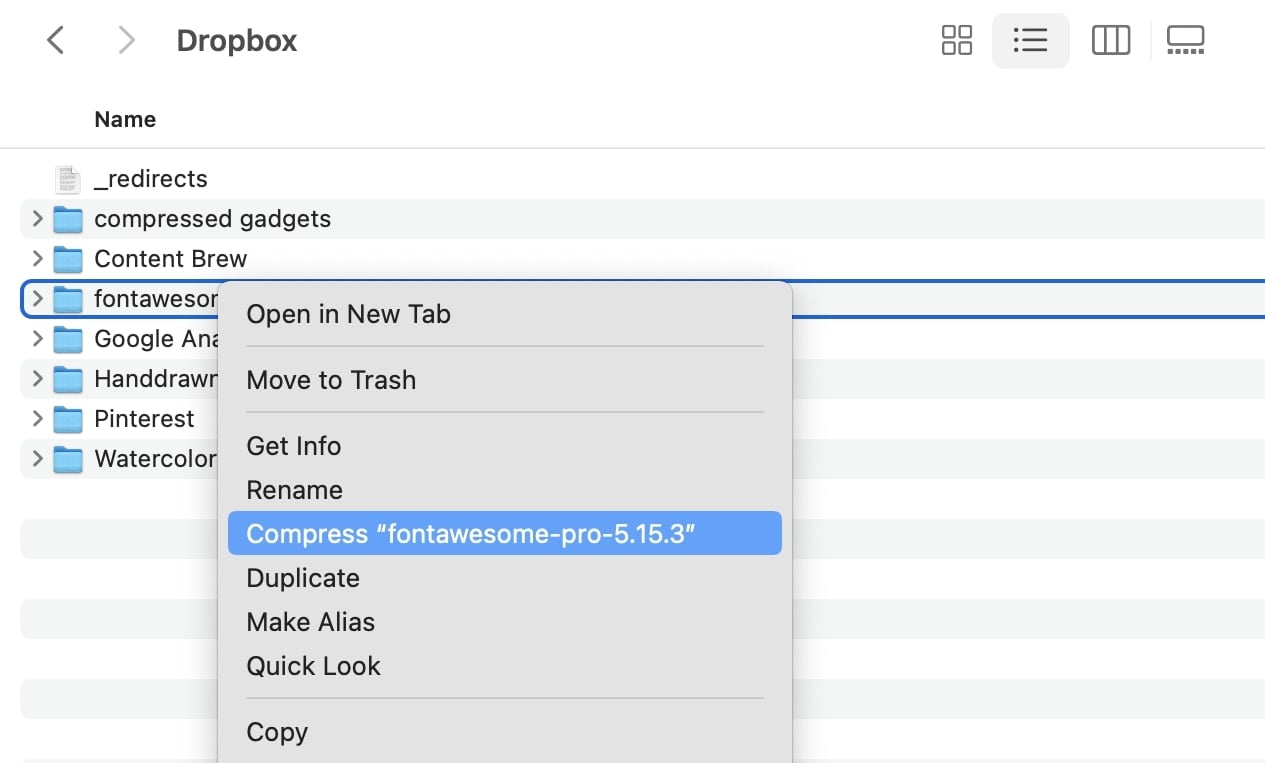
- Right-click or Control-click: Once you’ve selected the files or folders, right-click (or Control-click) on one of the selected items to open the context menu.
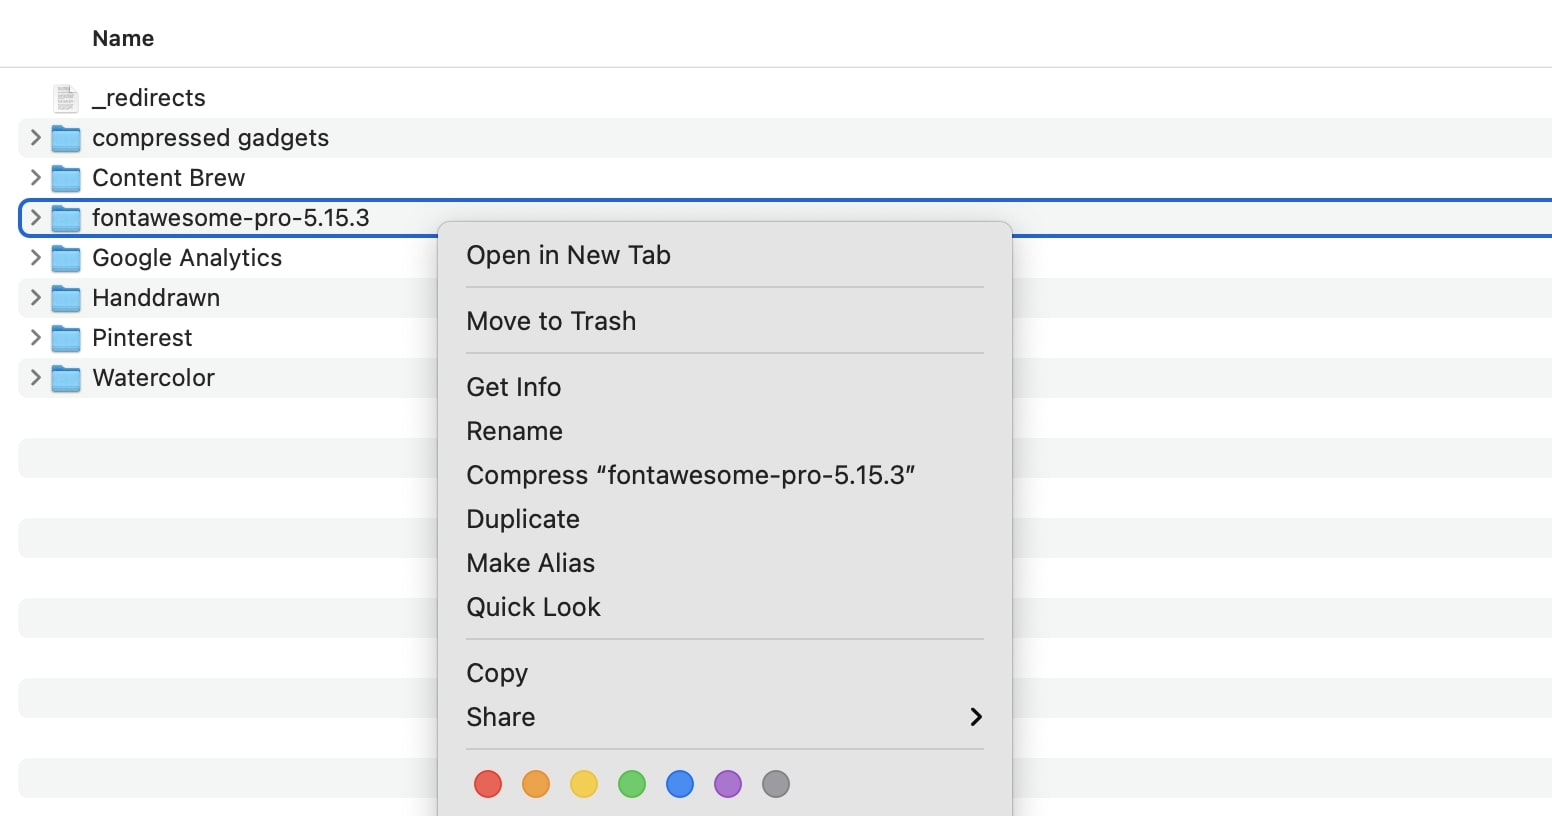
- Choose “Compress X Items”: In the context menu, click on the “Compress X Items” option, where X represents the number of selected items.
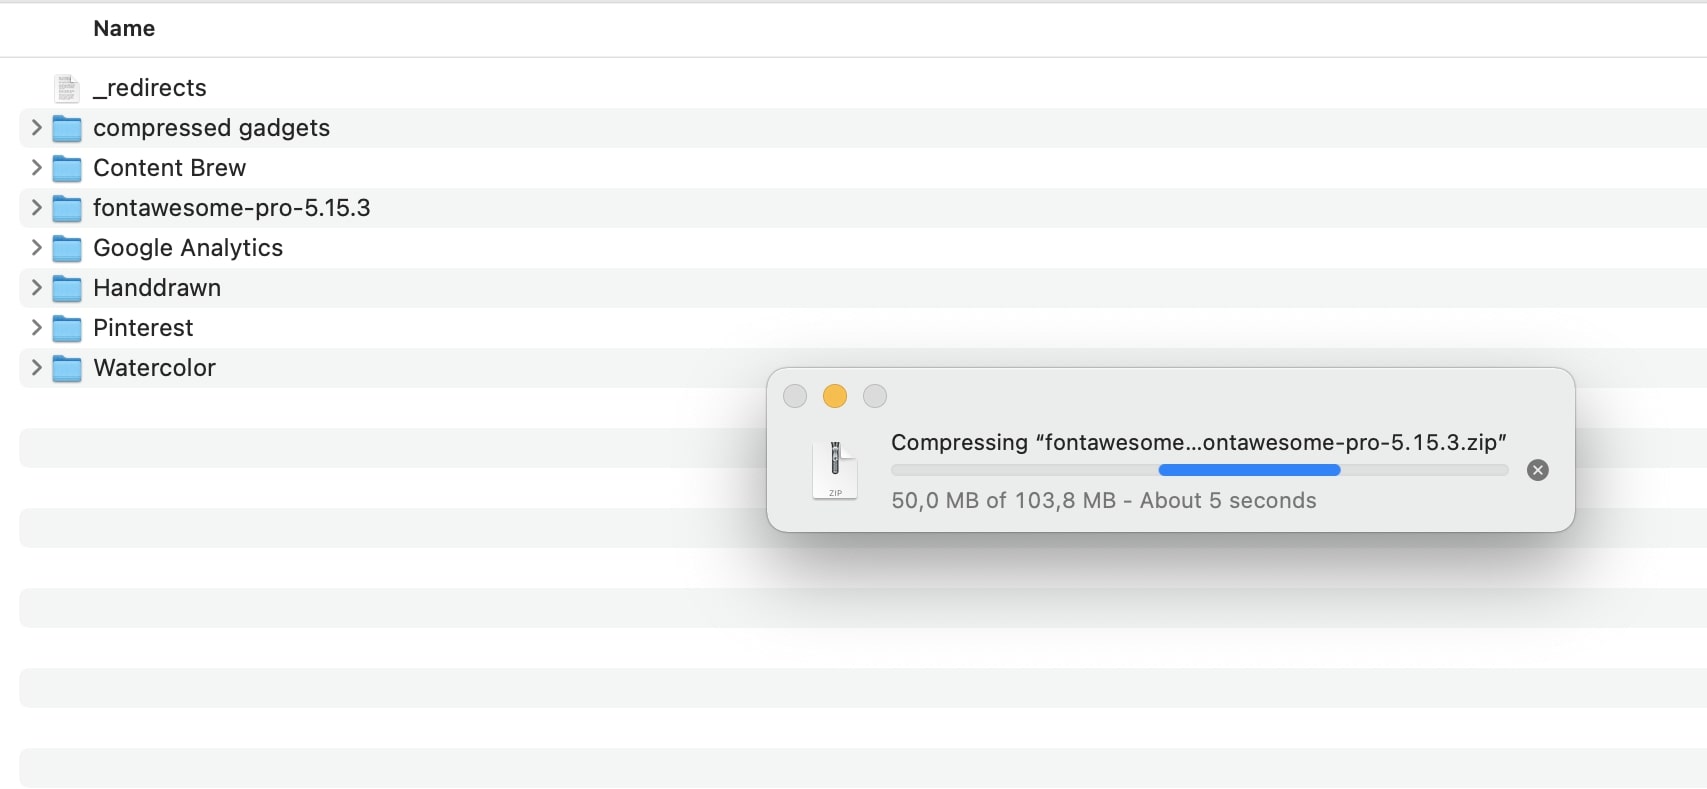
- Wait for compression: The Mac will start compressing the selected files or folders into a zip file. The compressed file will have the same name as the first file or folder you selected, with the extension “.zip”.
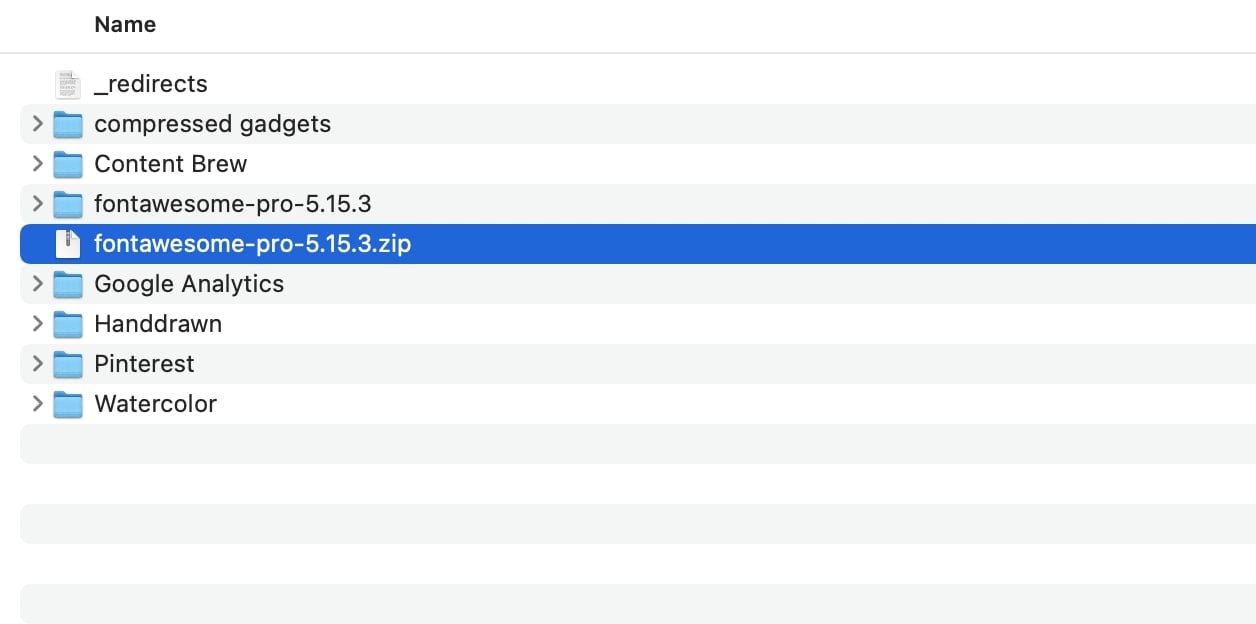
- Locate the zip file: Once the compression process is complete, you can find the newly created zip file in the same location as the original files or folders. You can also use the search function in Finder to locate the file by its name.
How To Reduce Image Size Using Online Tool On Mac
For those who prefer not to install additional software and enjoy the freedom of the online jungle, ezyZip is your vine. It’s as easy as peeling a banana!
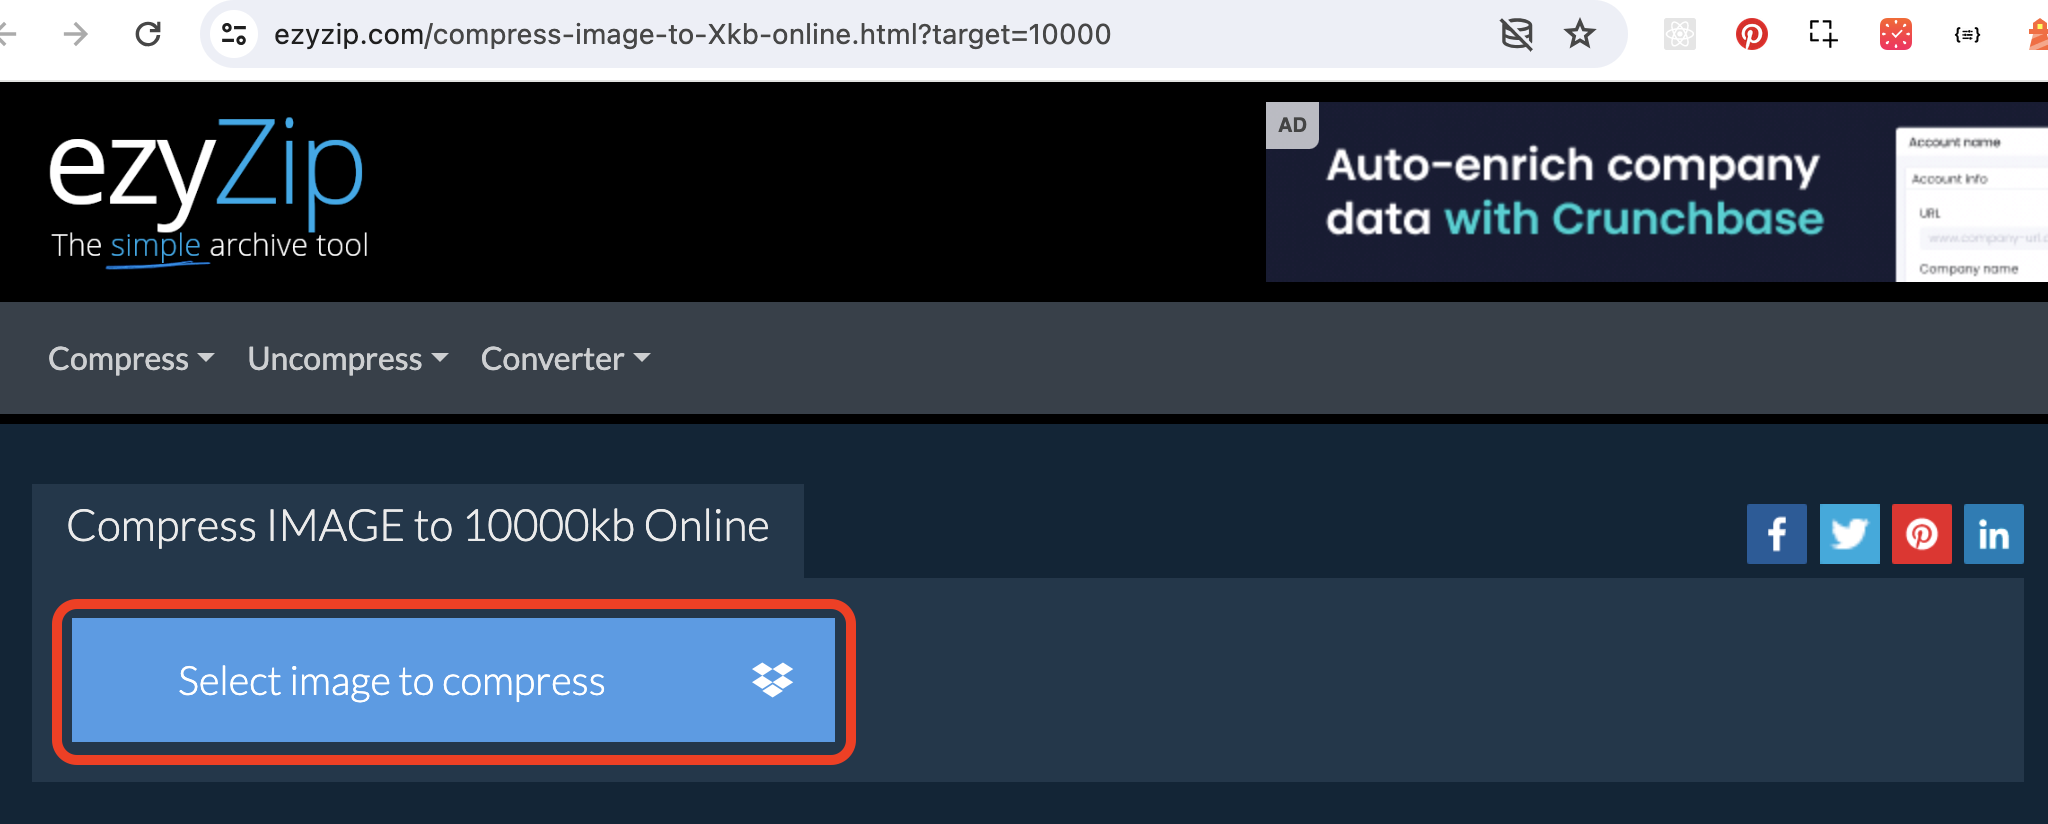
- Visit the Site: Swing over to ezyzip.com.
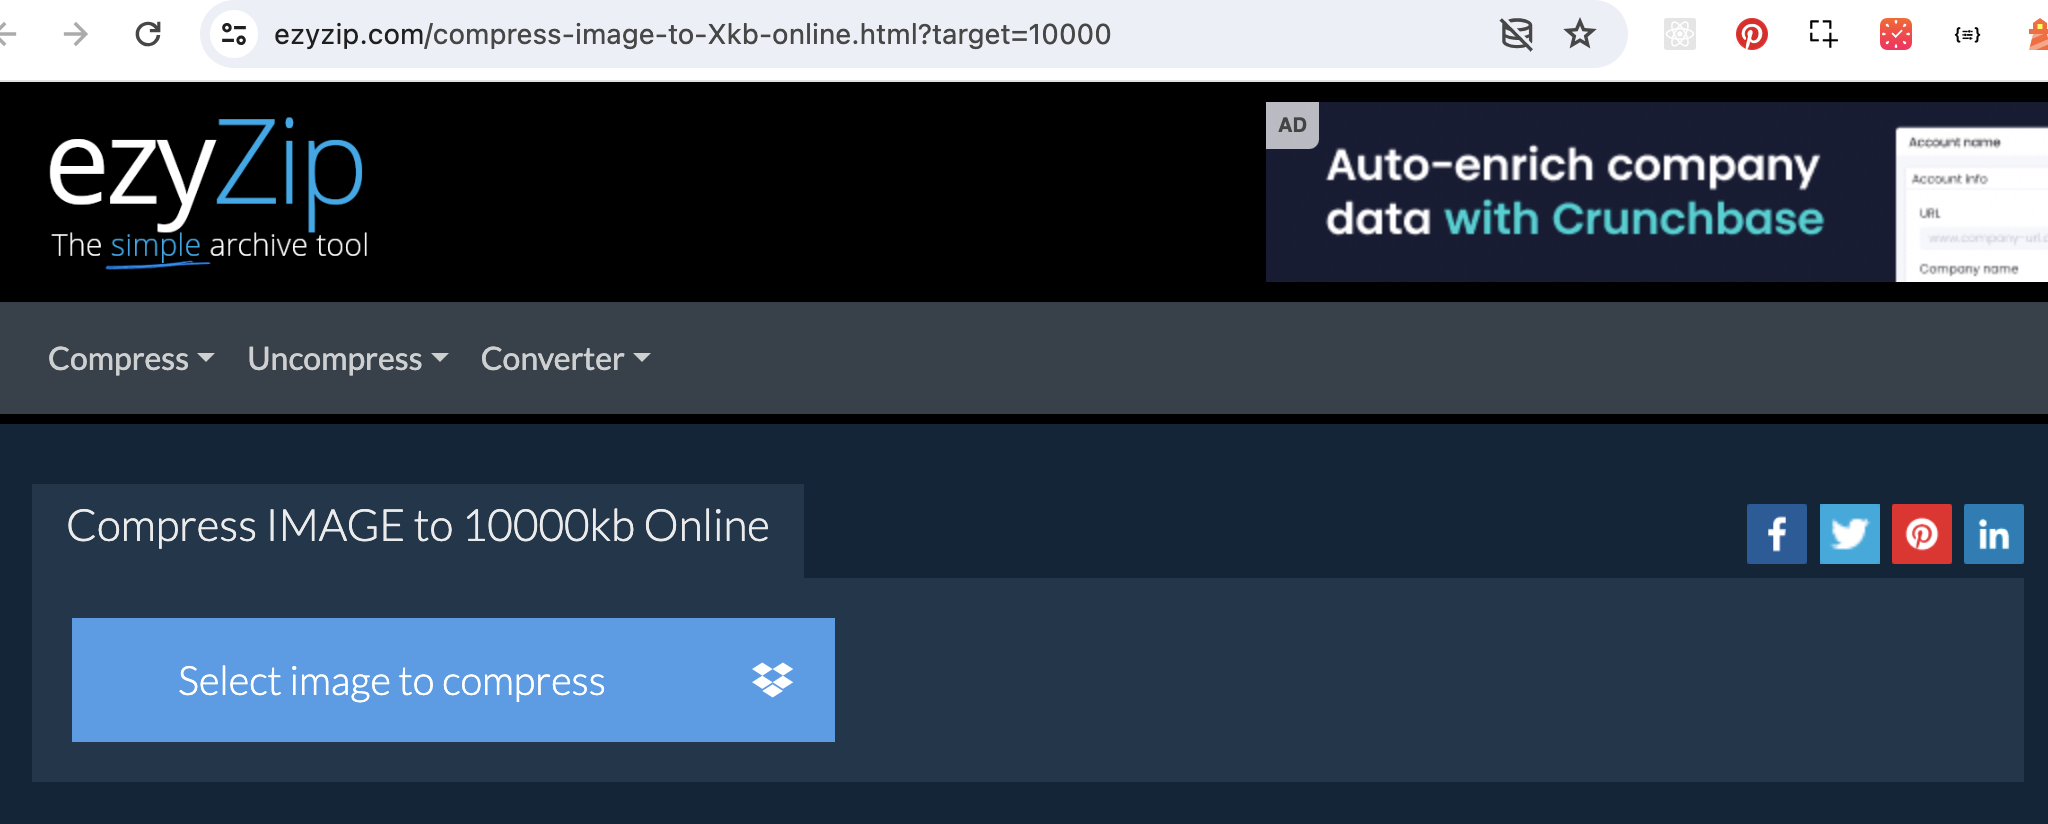
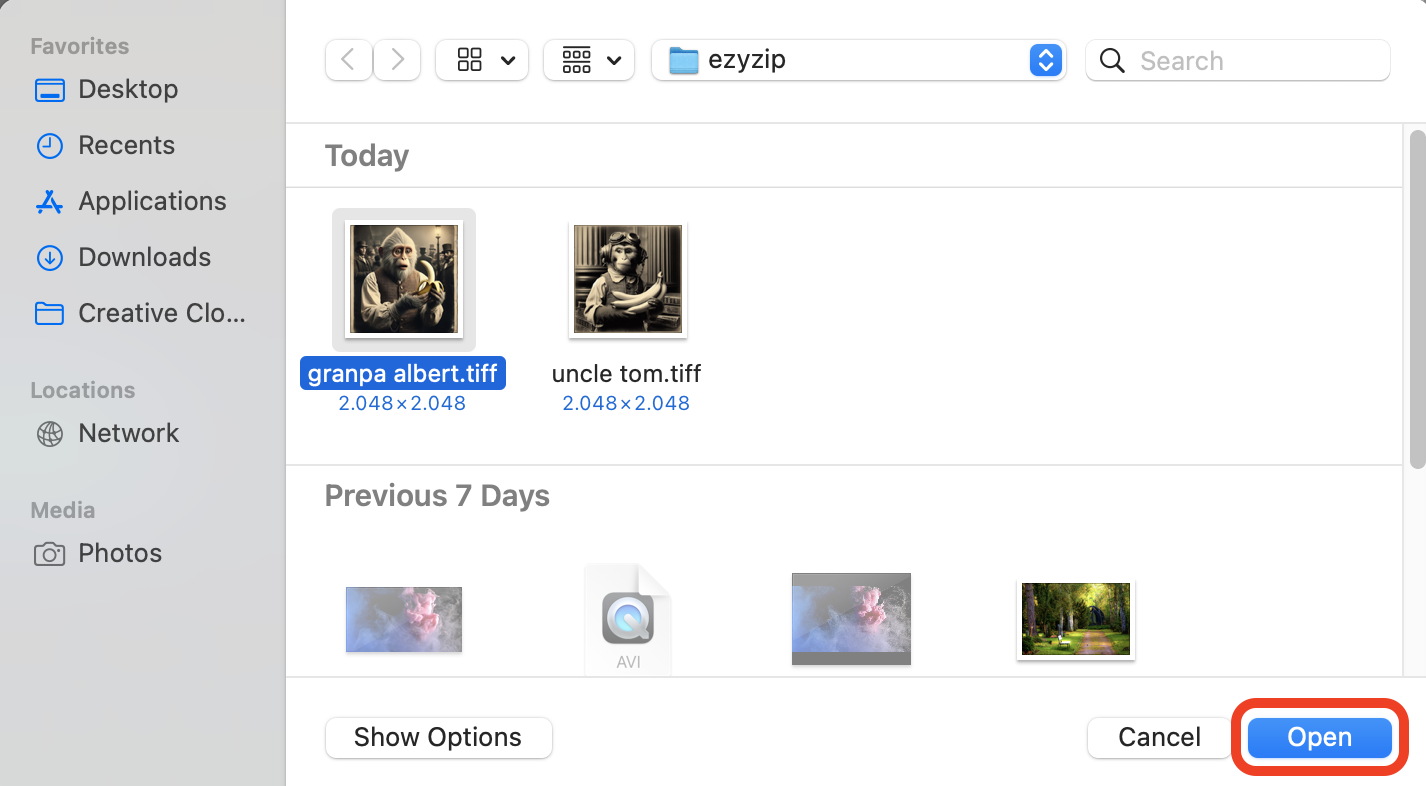
- Upload Your Image: Click on the “Select image to compress” button and select the photo(s) you want to resize. You can select more than 1 image. Imagine you’re handing over a banana to a friend.
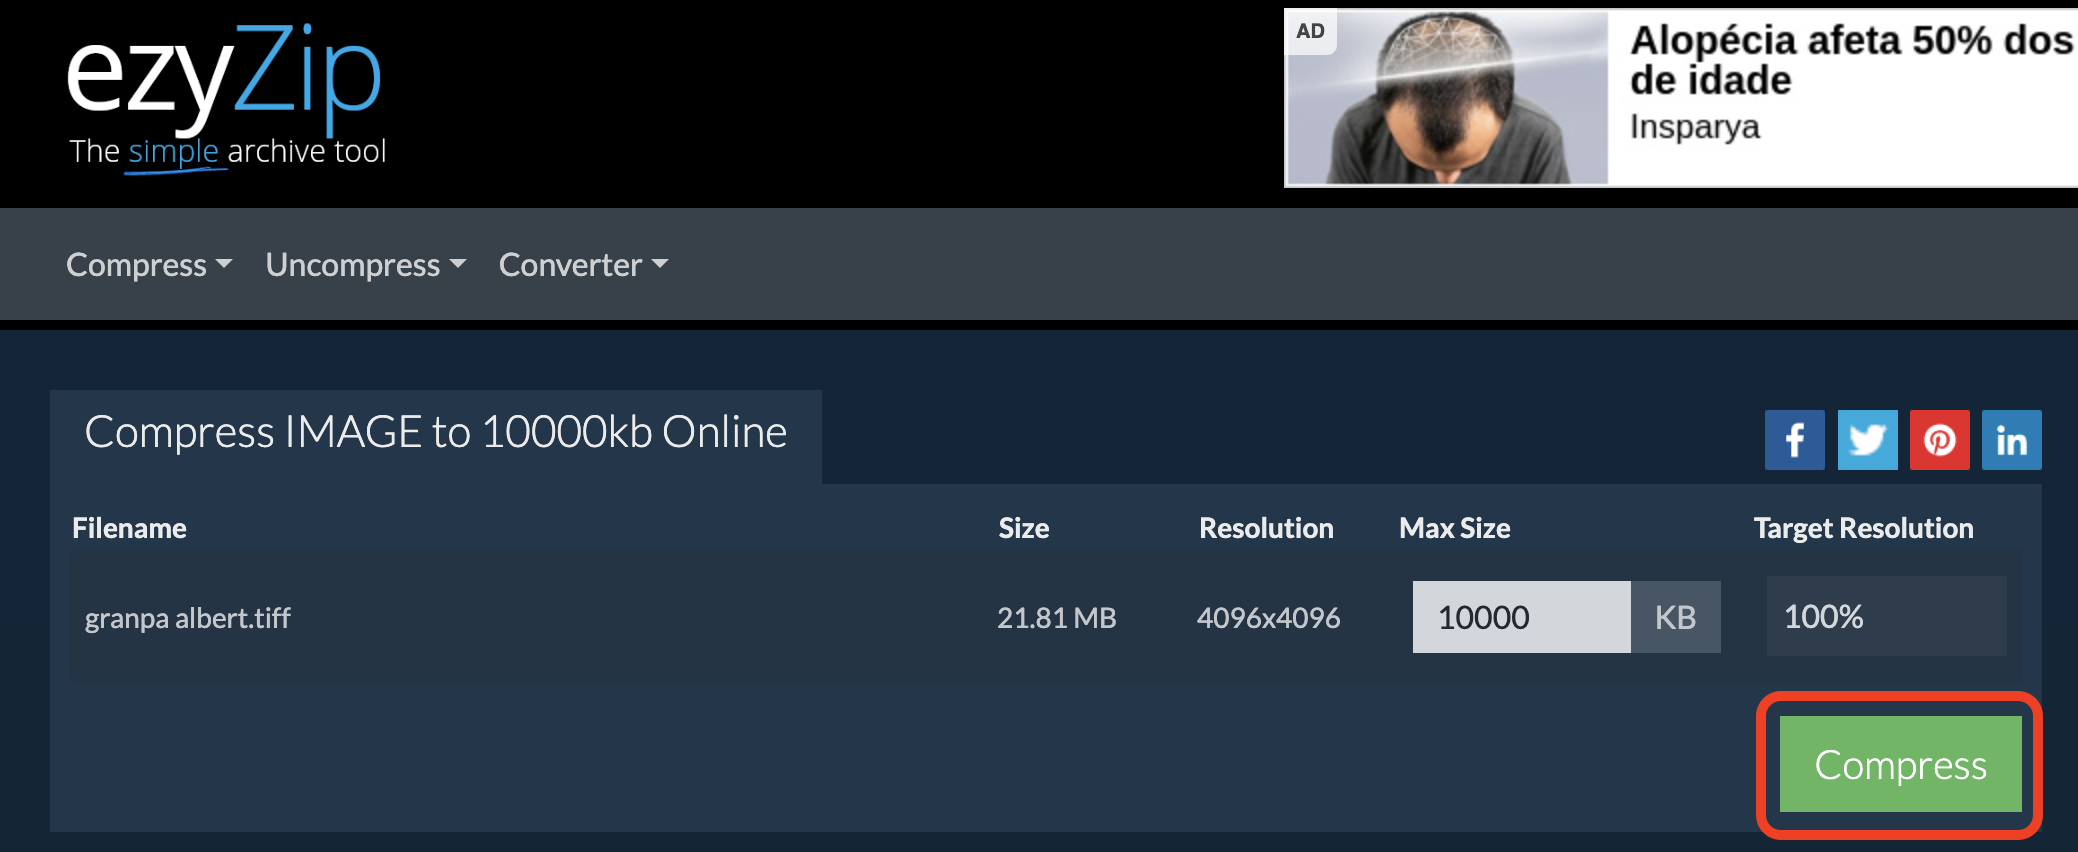
- Compress: Click on the “Compress” button and wait for the magic to happen. It’s like watching a banana ripen before your eyes!
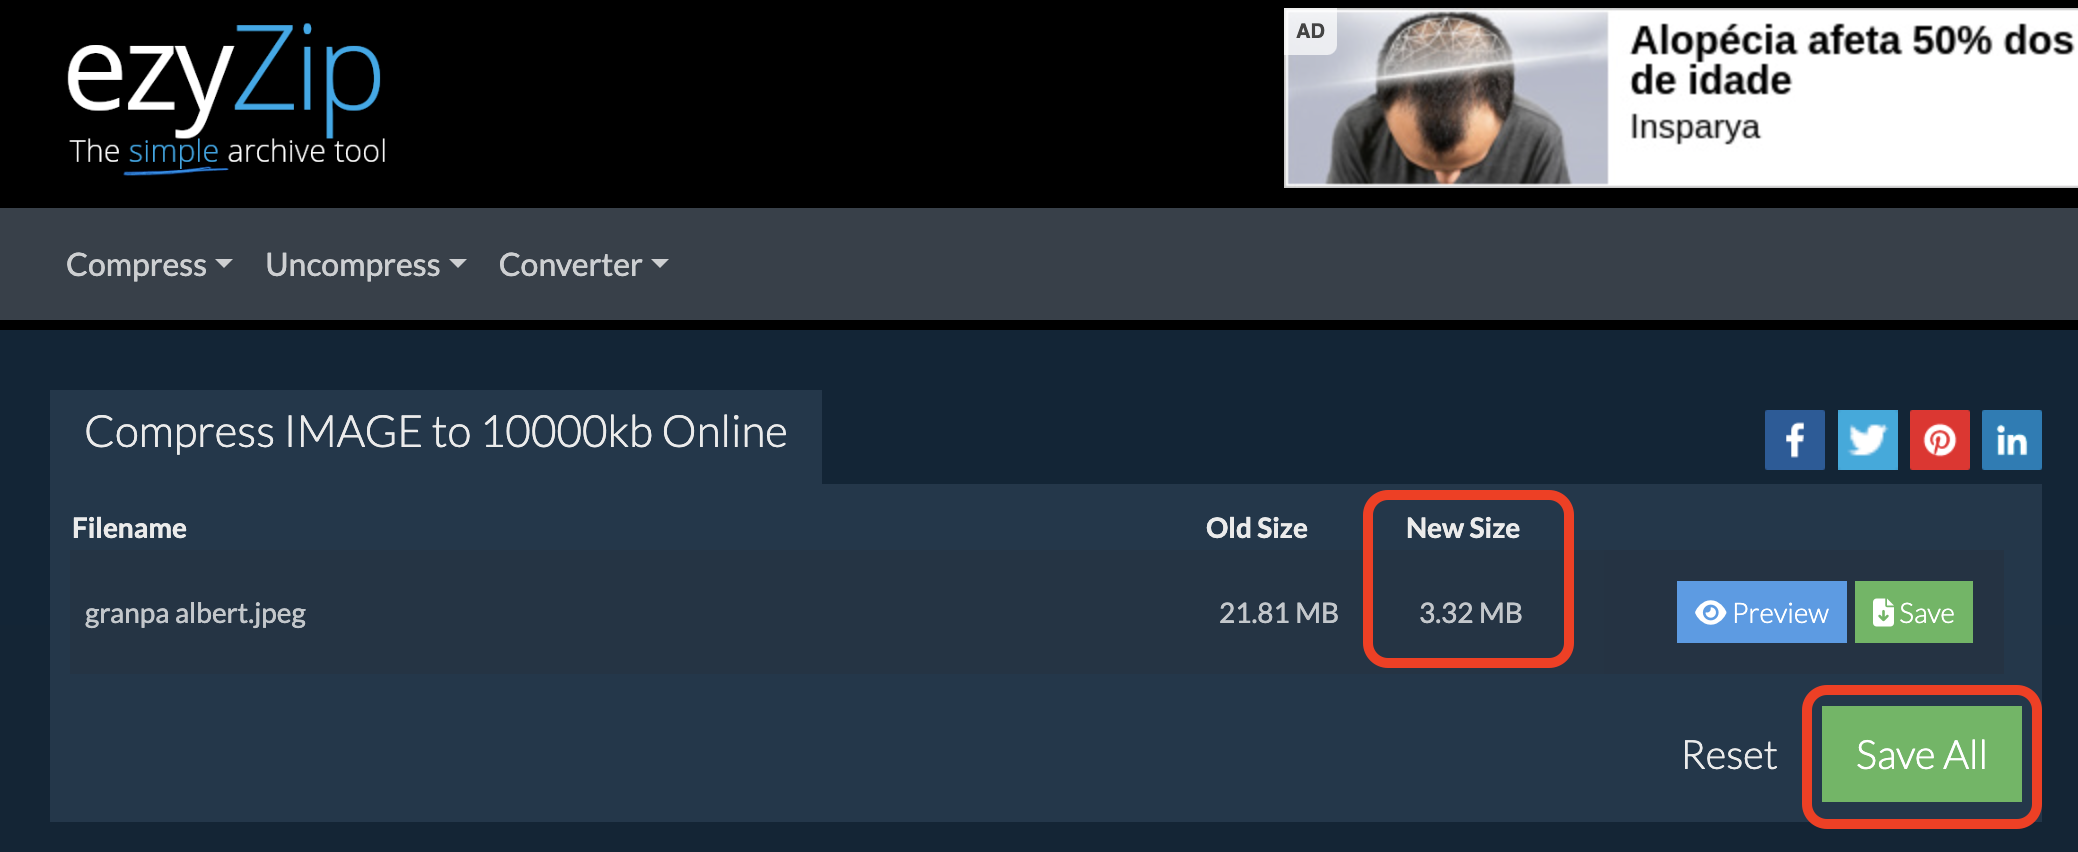
- Download: Hit the “Save All” button and then download your newly slimmed-down image. Congratulations, you’ve just made that image as light as a monkey’s lunch!
How To Compress Images and Photos Using Preview on Mac
If your photo library is starting to look like a jungle, here’s how to trim it down.
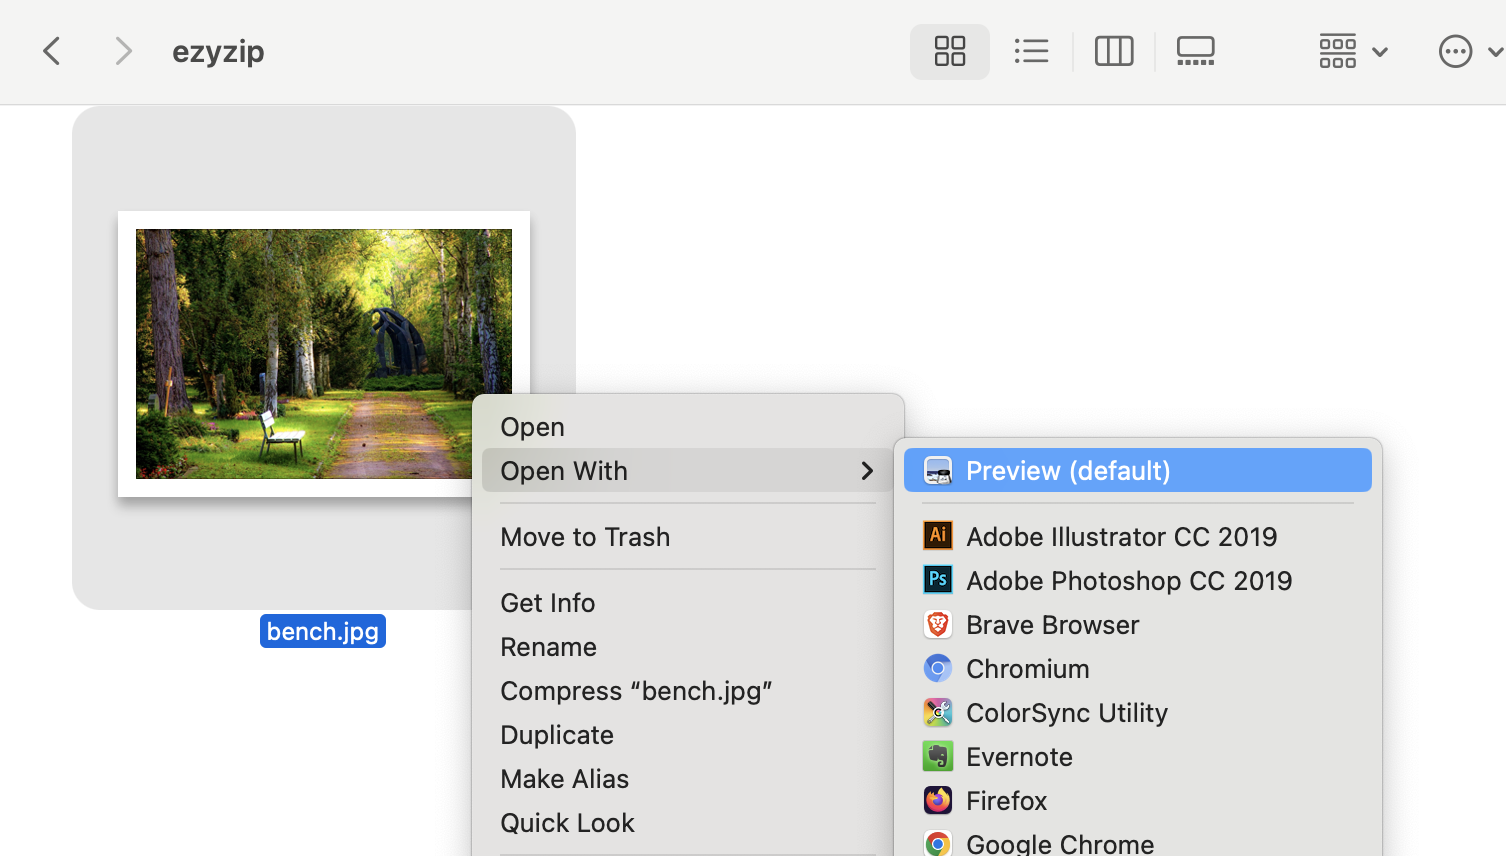
- Open with Preview: Right-click on your image and select “Open With > Preview.”
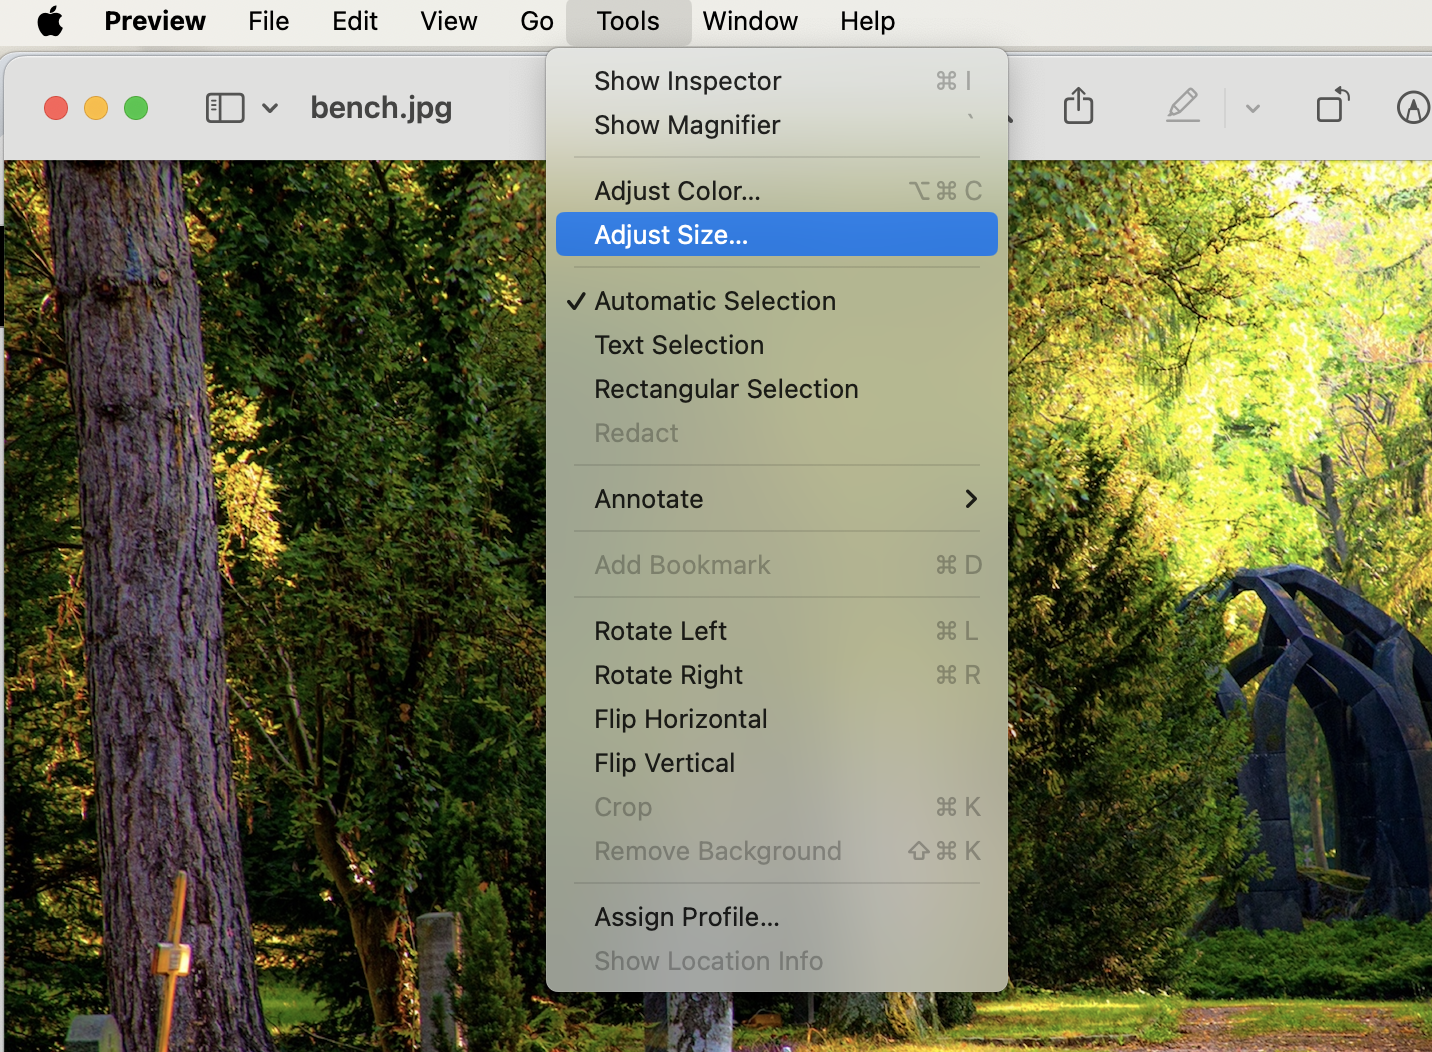
- Adjust Size: In the menu bar, click “Tools > Adjust Size”. You can change the dimensions and resolution here, making sure your image isn’t hogging all the bananas (stays below 10MB).
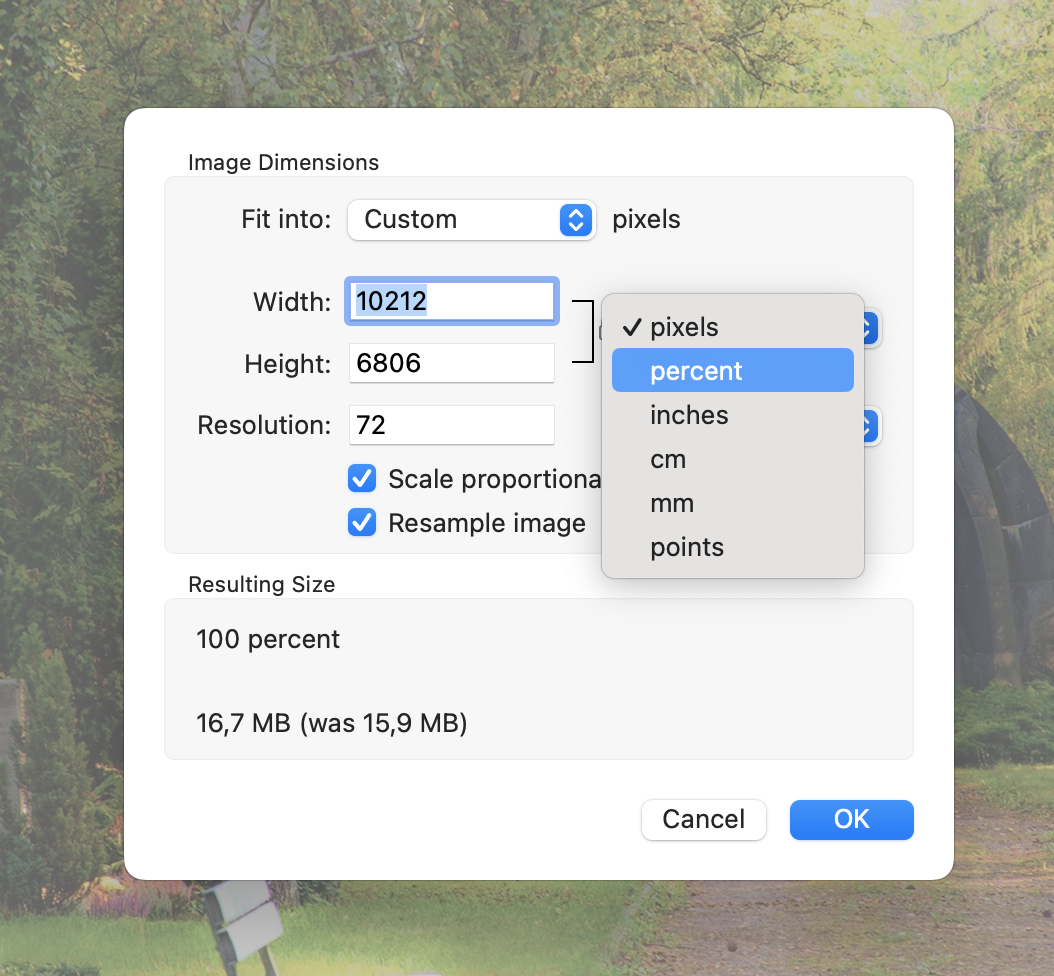
- Adjust Your Image: Under Image Dimensions, choose from pixels/percentage/… to adjust the quality to your desire. Change the “Resolution” to reduce the file size if necessary.
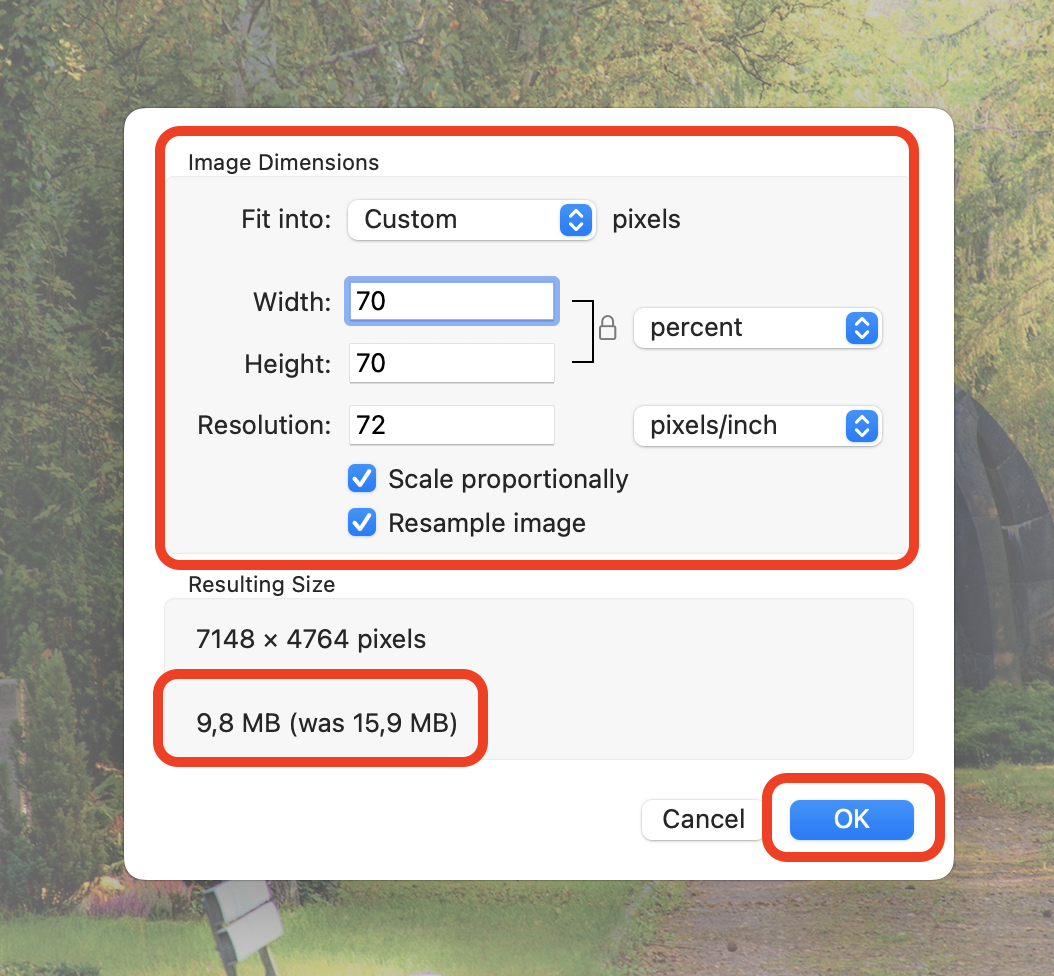
- Save Your Image: Click “OK” to save your optimized image. Your product photo is now as appealing and lightweight as a monkey’s snack.
How To Reduce Video File Size With Online Service
For those who prefer not to download software, ezyZip is a handy online tool.
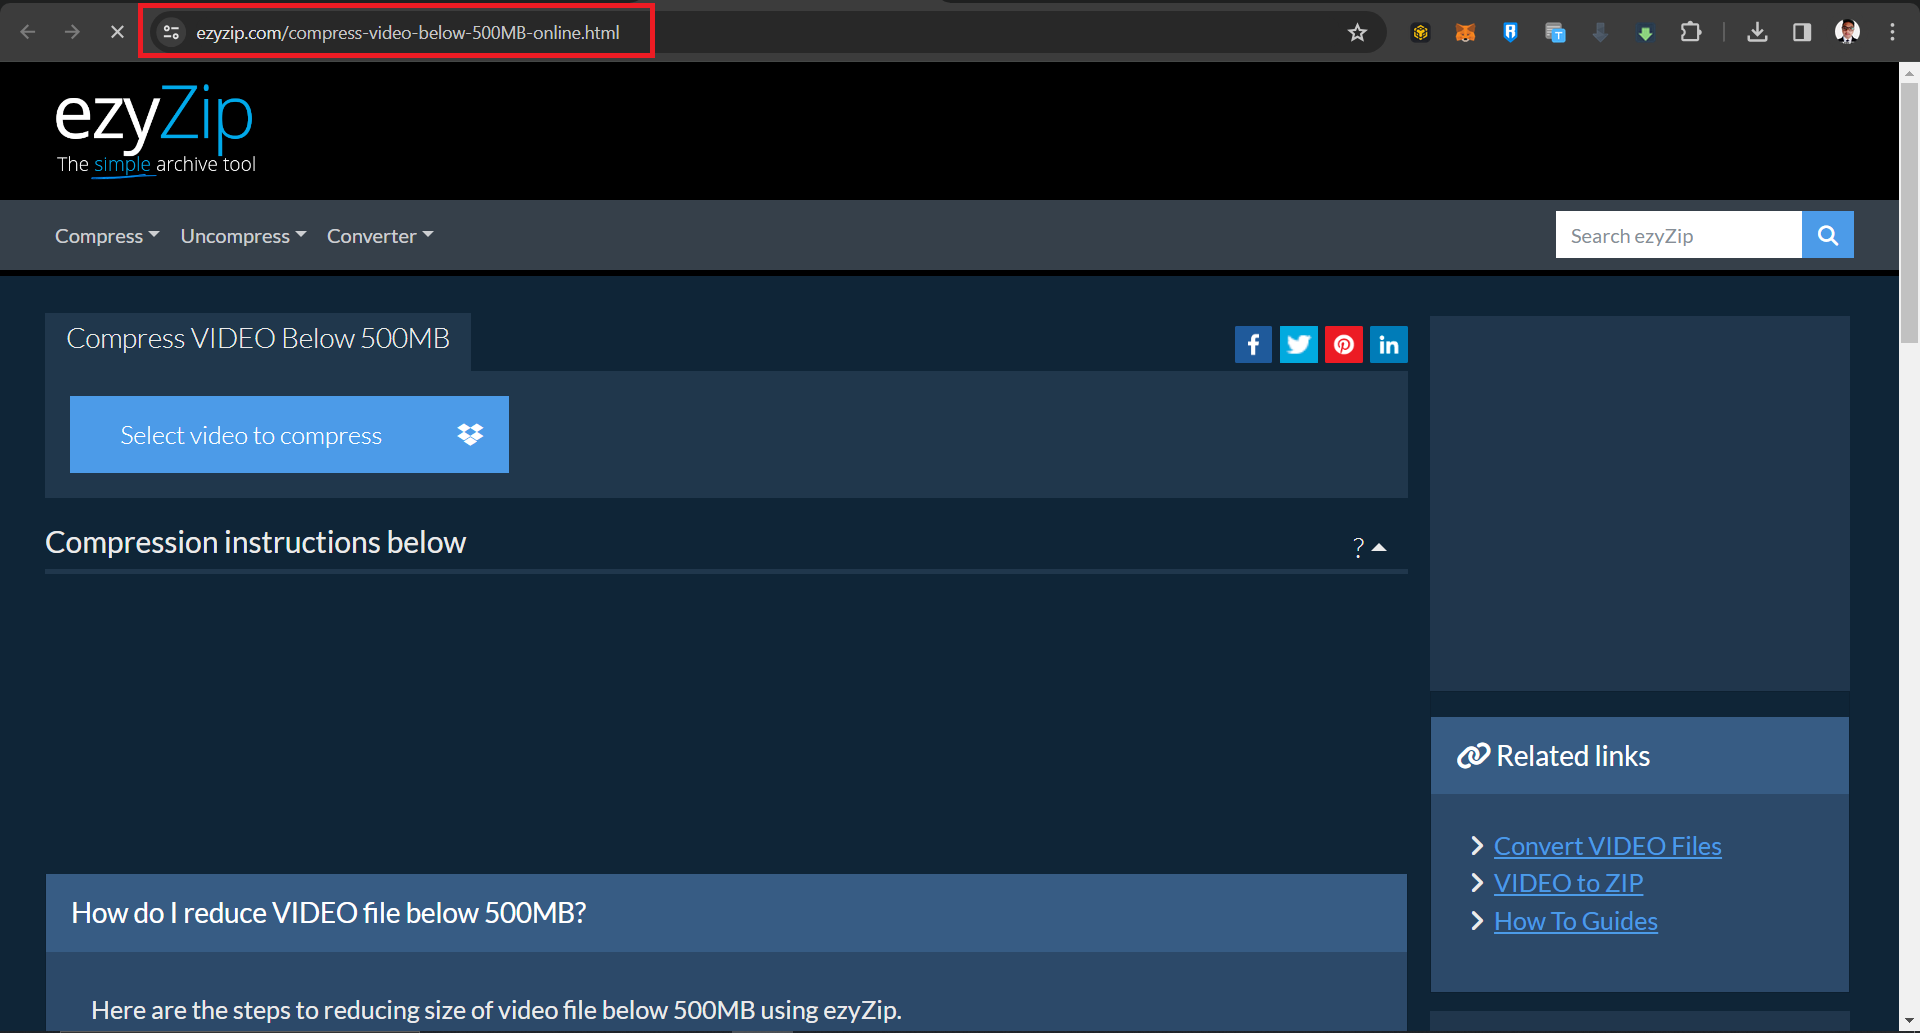
- Go to ezyZip Website: Visit ezyzip.com’s Convert Media Tools and choose a video converter you need. It’s as easy as finding a banana in your treehouse. For this guide, we’ll use the Compress Video Below 500MB tool.
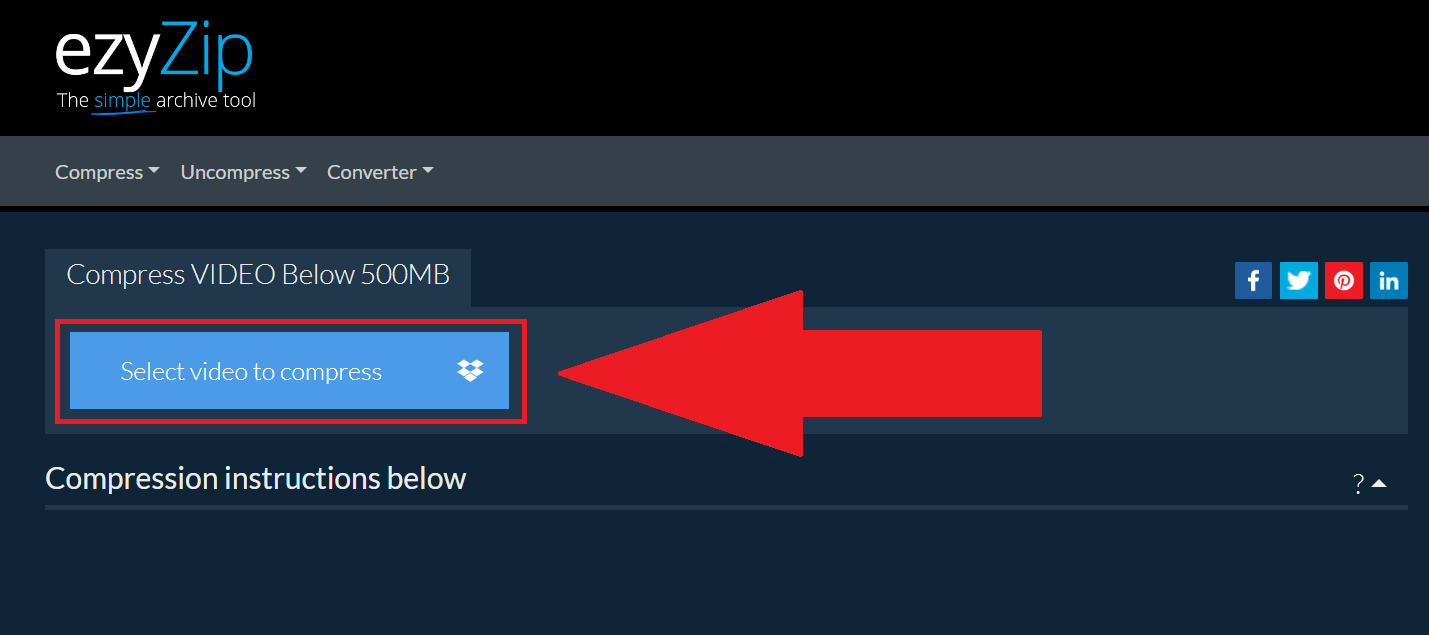
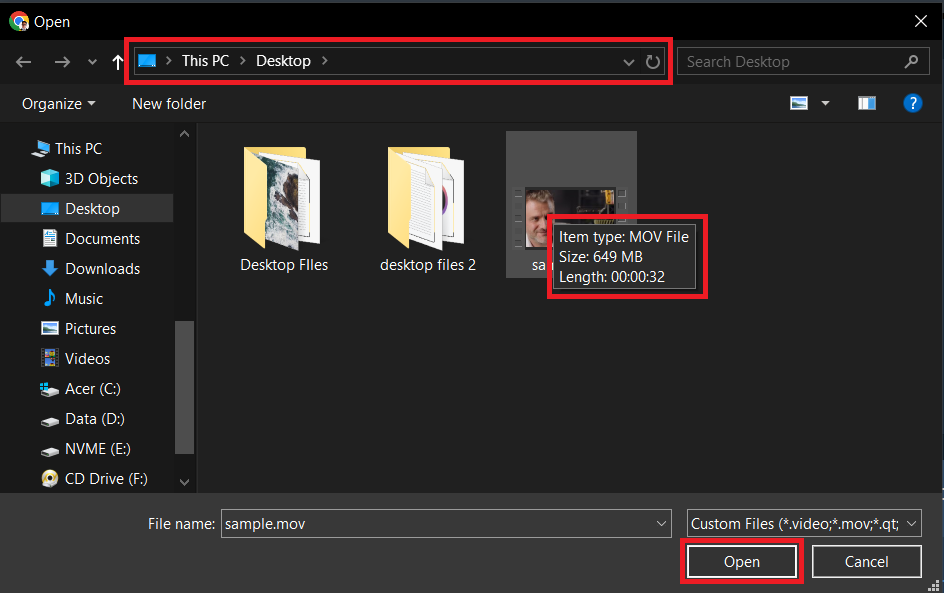
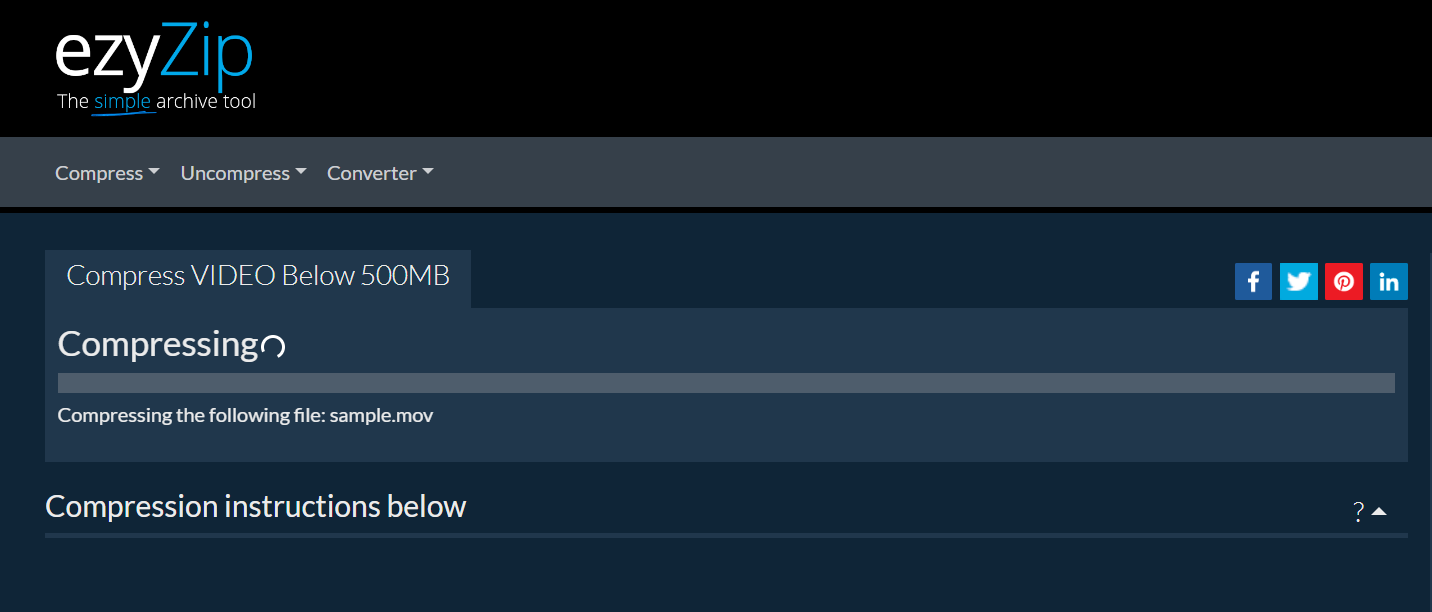
- Upload Your Video: Select the video file you want to compress. It’s like handing over a heavy banana to a friend.
- Compress the Video: Follow the on-screen instructions to reduce the file size. It’s like watching a monkey expertly peel a banana.
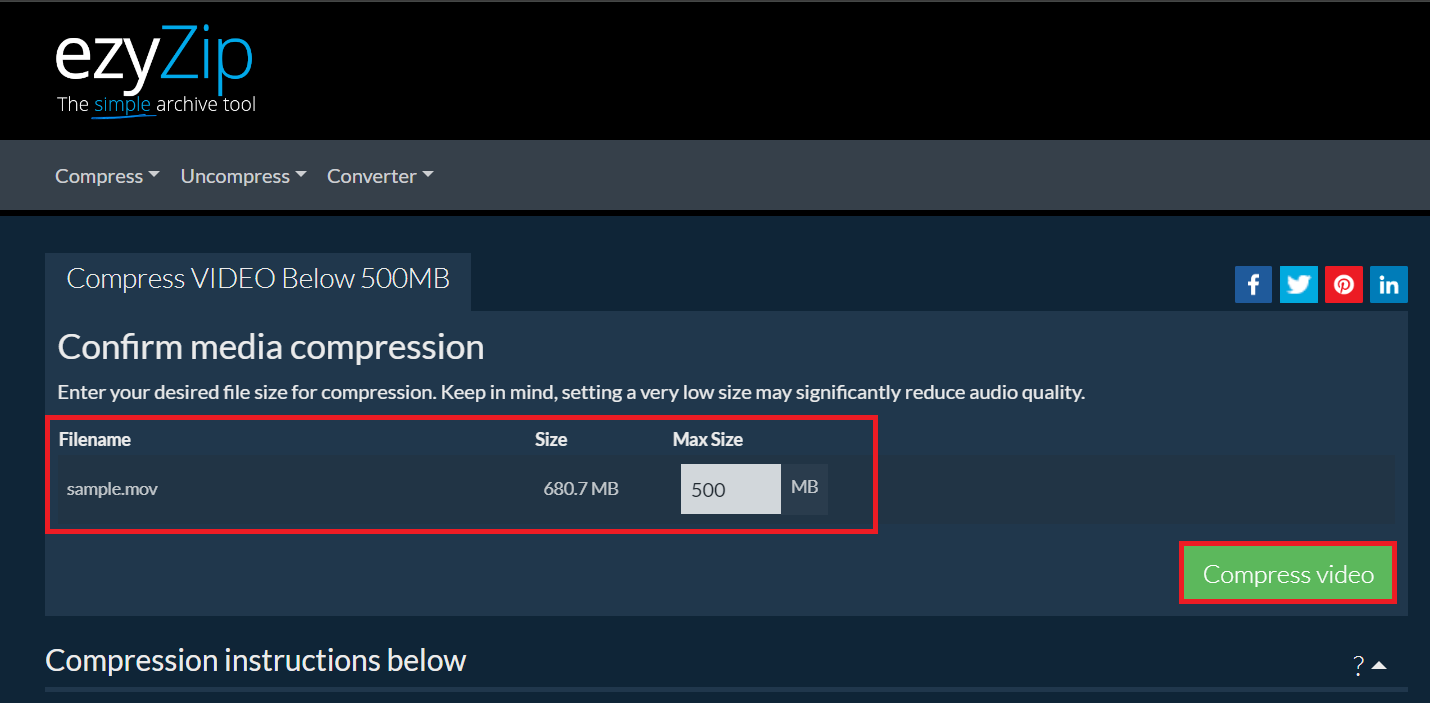
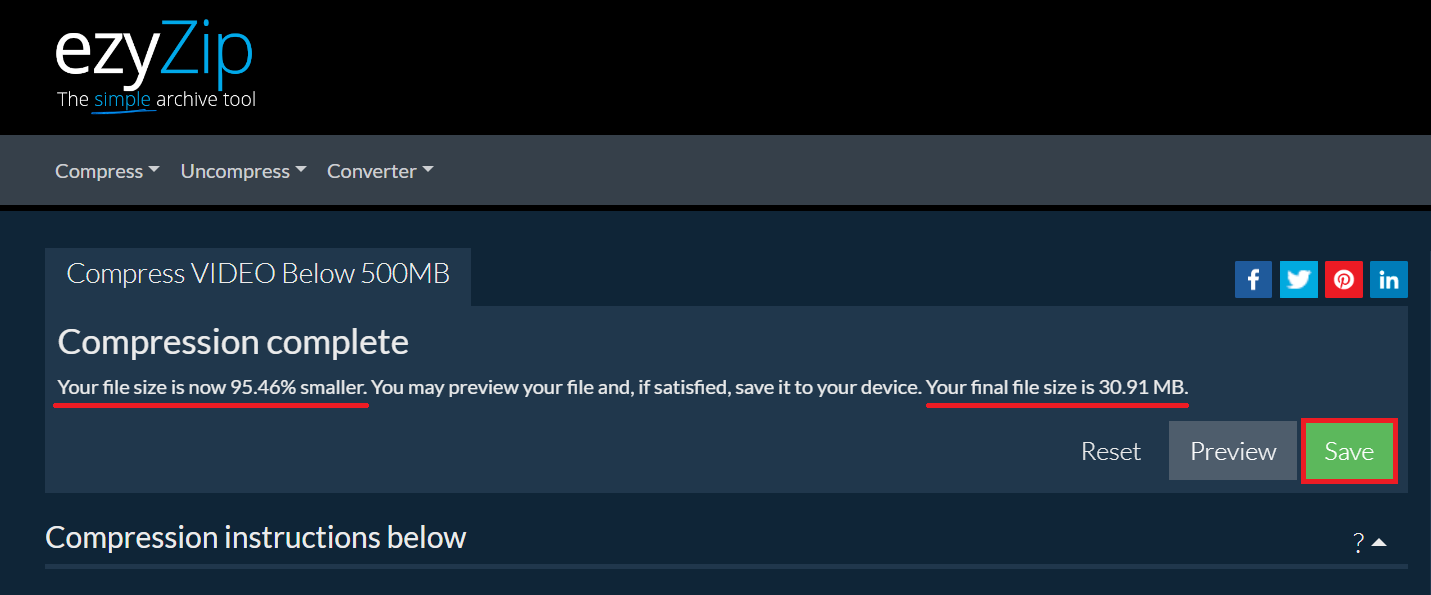
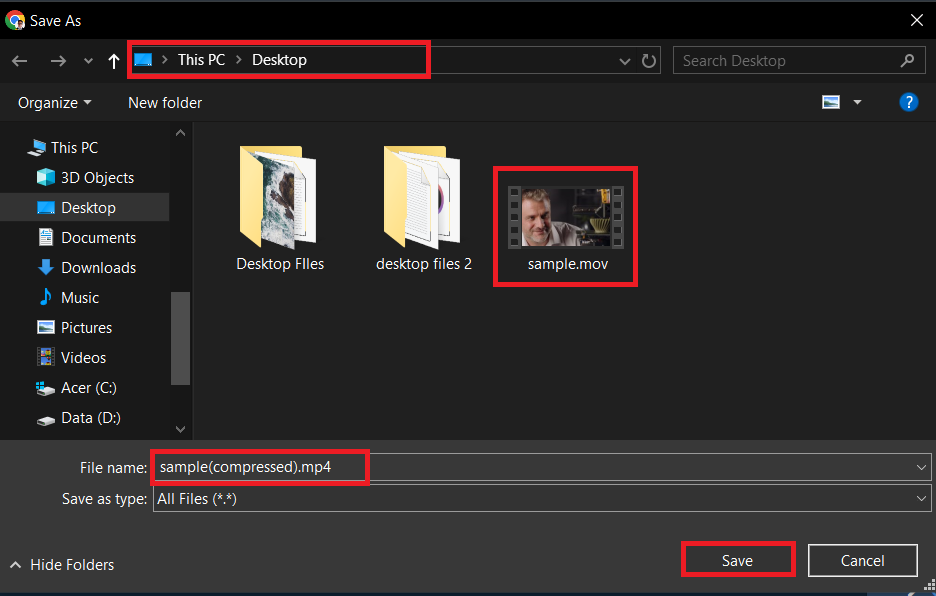
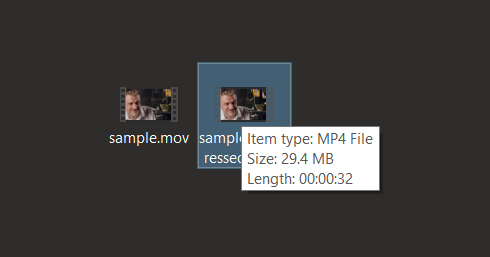
- Download Your Video: Once compressed, download the lighter file. You’ve just made swinging through the digital trees easier!
How To Compress Videos Using iMovie On Mac
Got videos heavier than a gorilla? Lighten them up with iMovie.
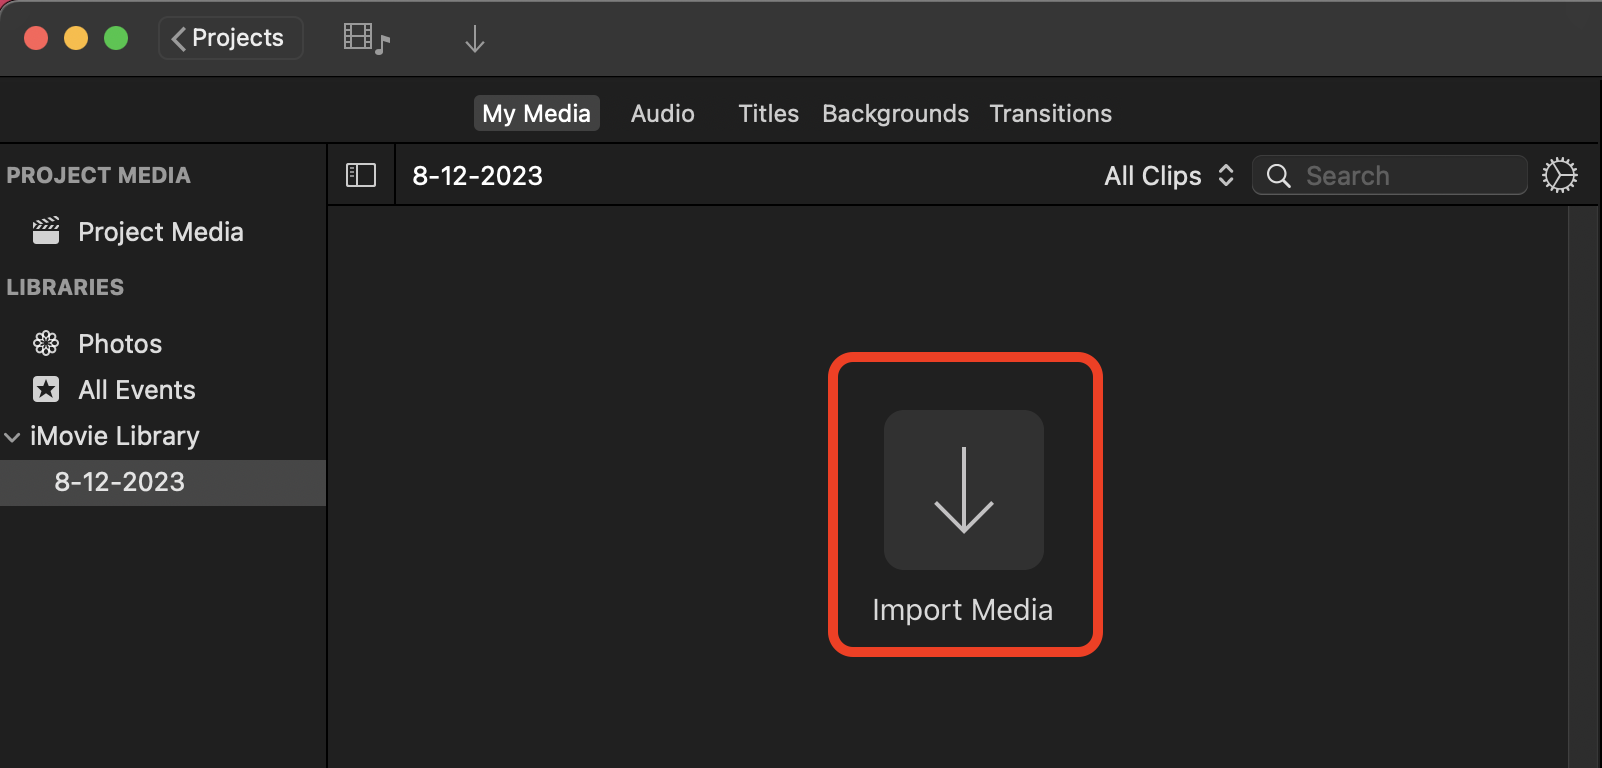
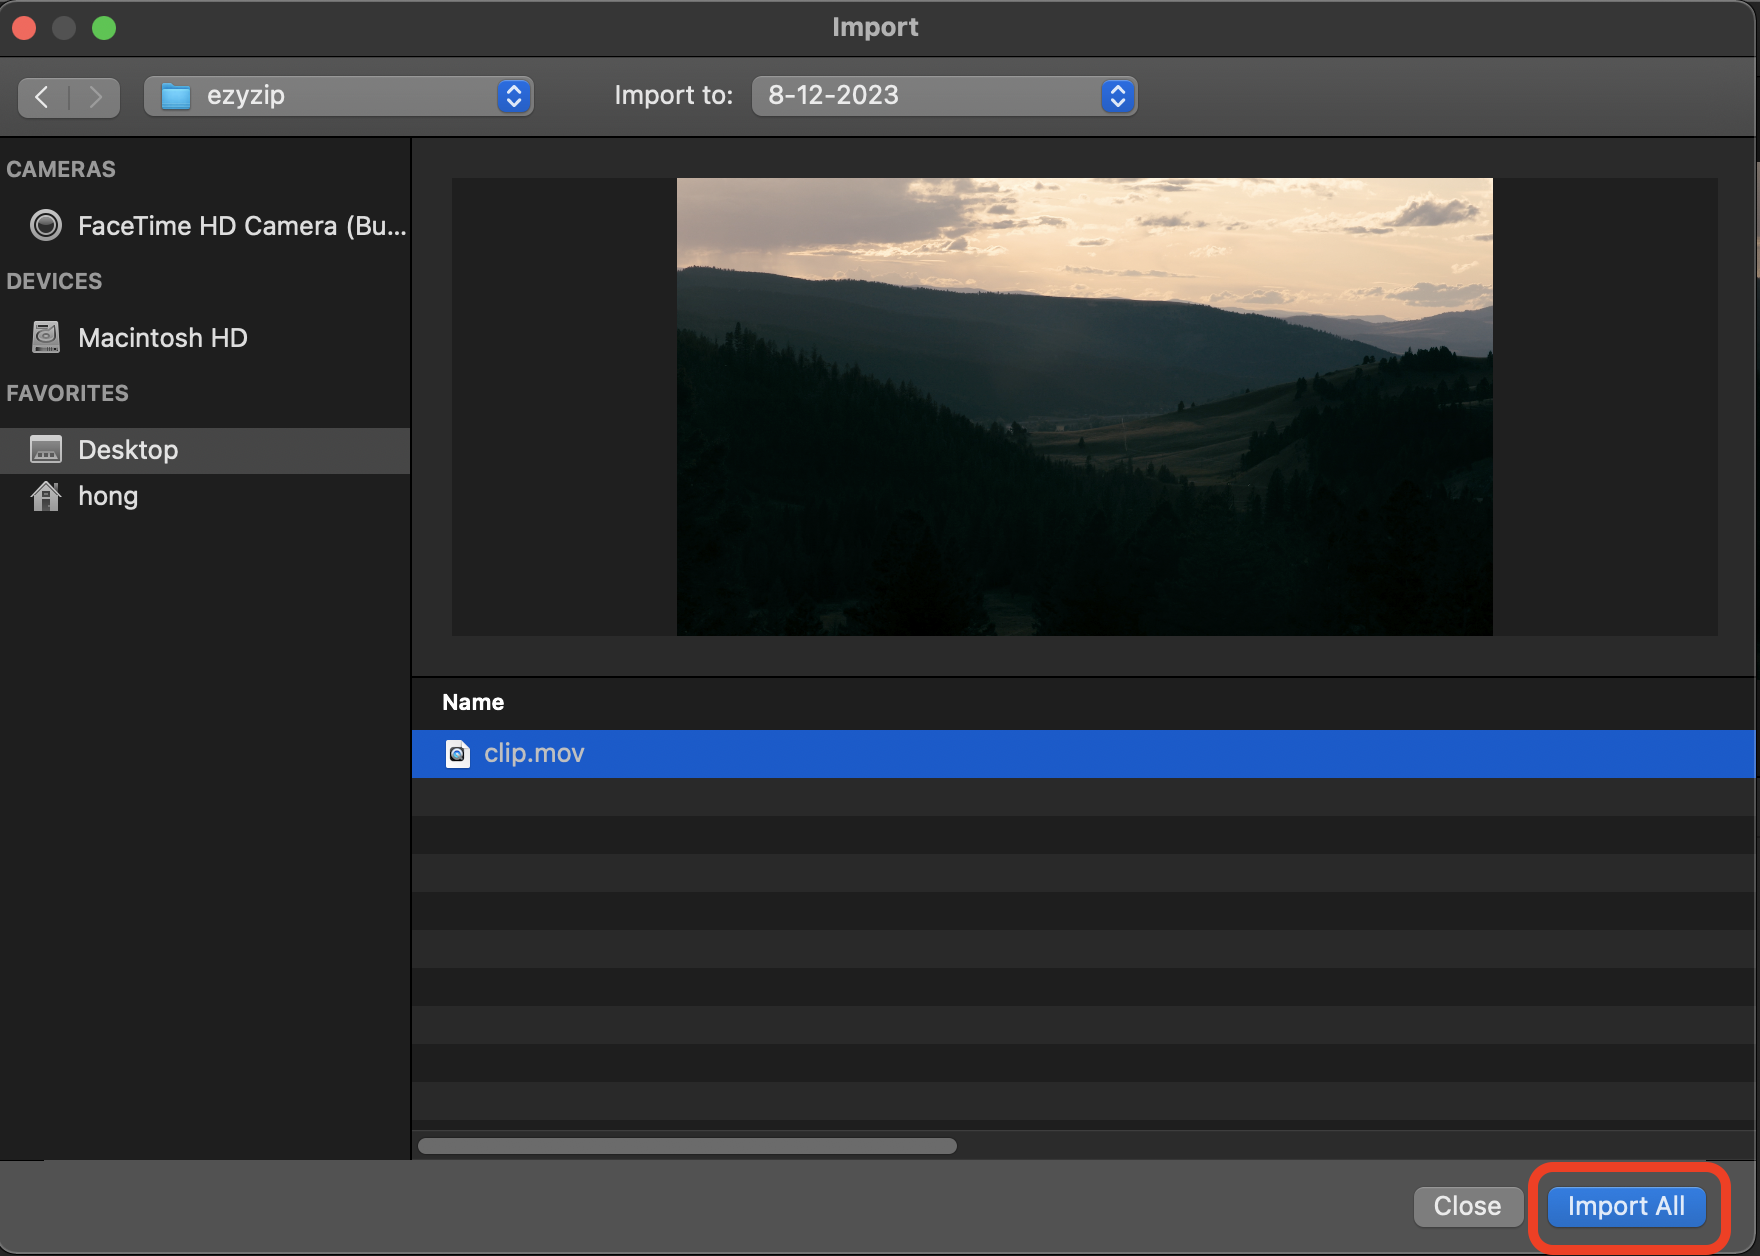
- Open iMovie: Launch iMovie and import your video. It’s like setting up camp.

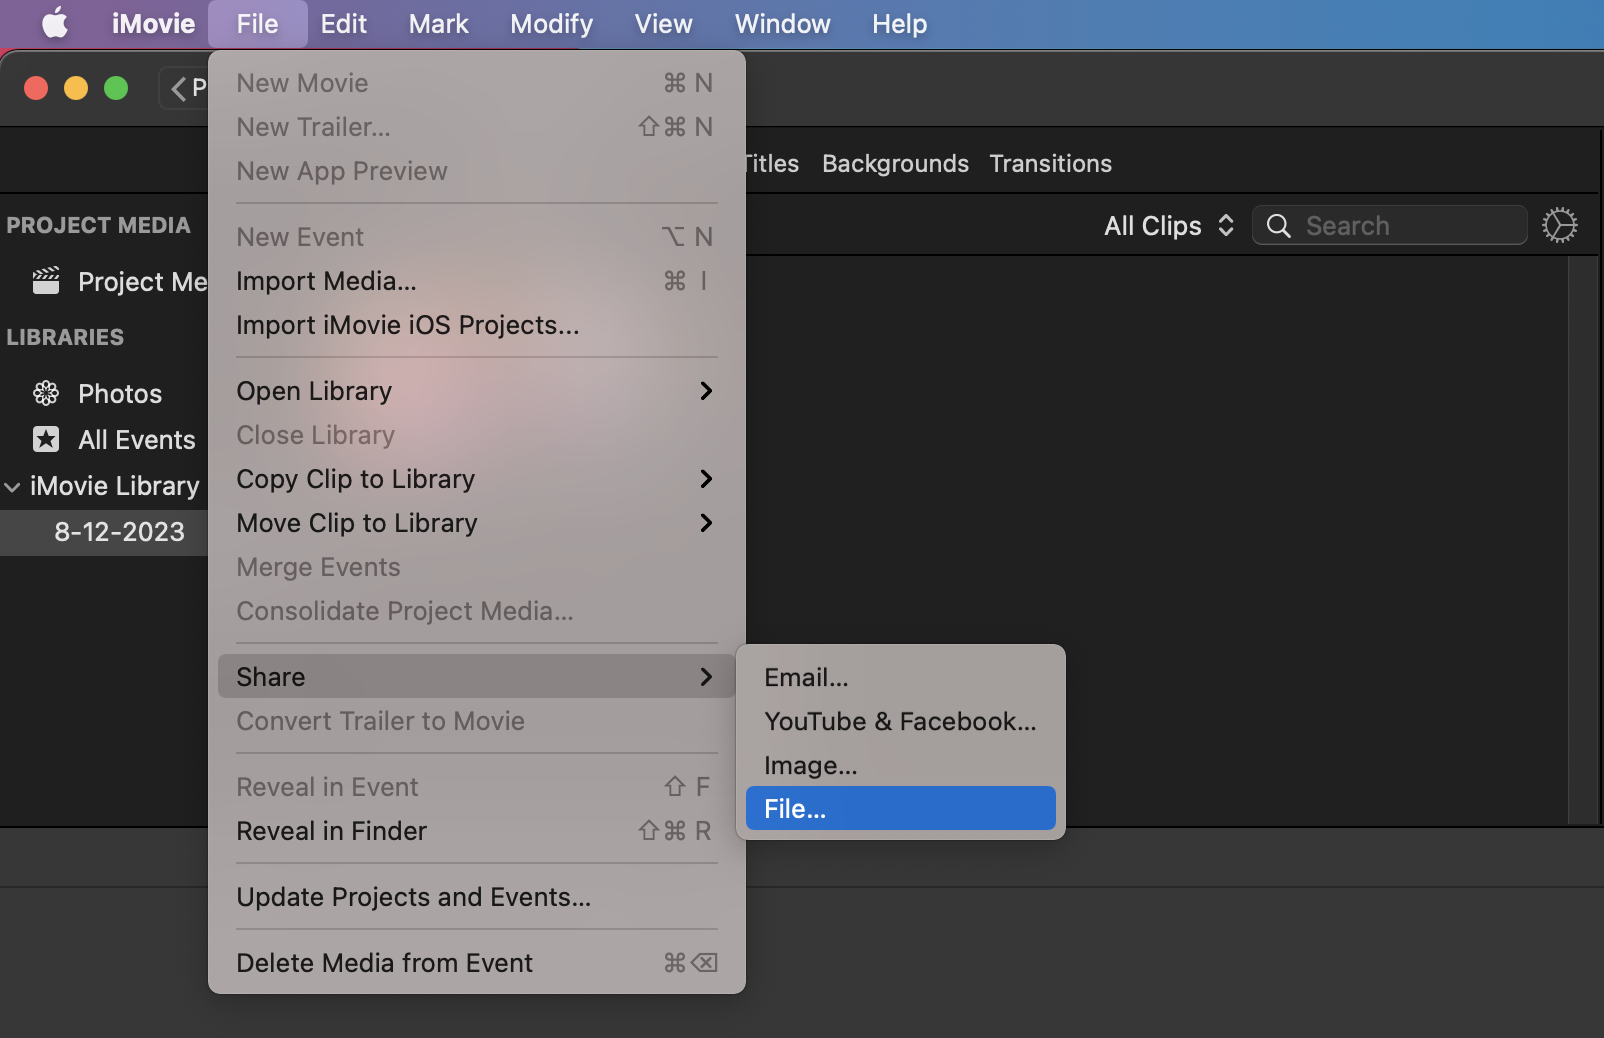
- Share Your Video: Click on the “File > Share” button (the little square with an arrow) and select “File.”
- Adjust the Settings: Here, you can change the resolution and quality to reduce the file size. It’s like deciding how much gear you need to carry on your hike.
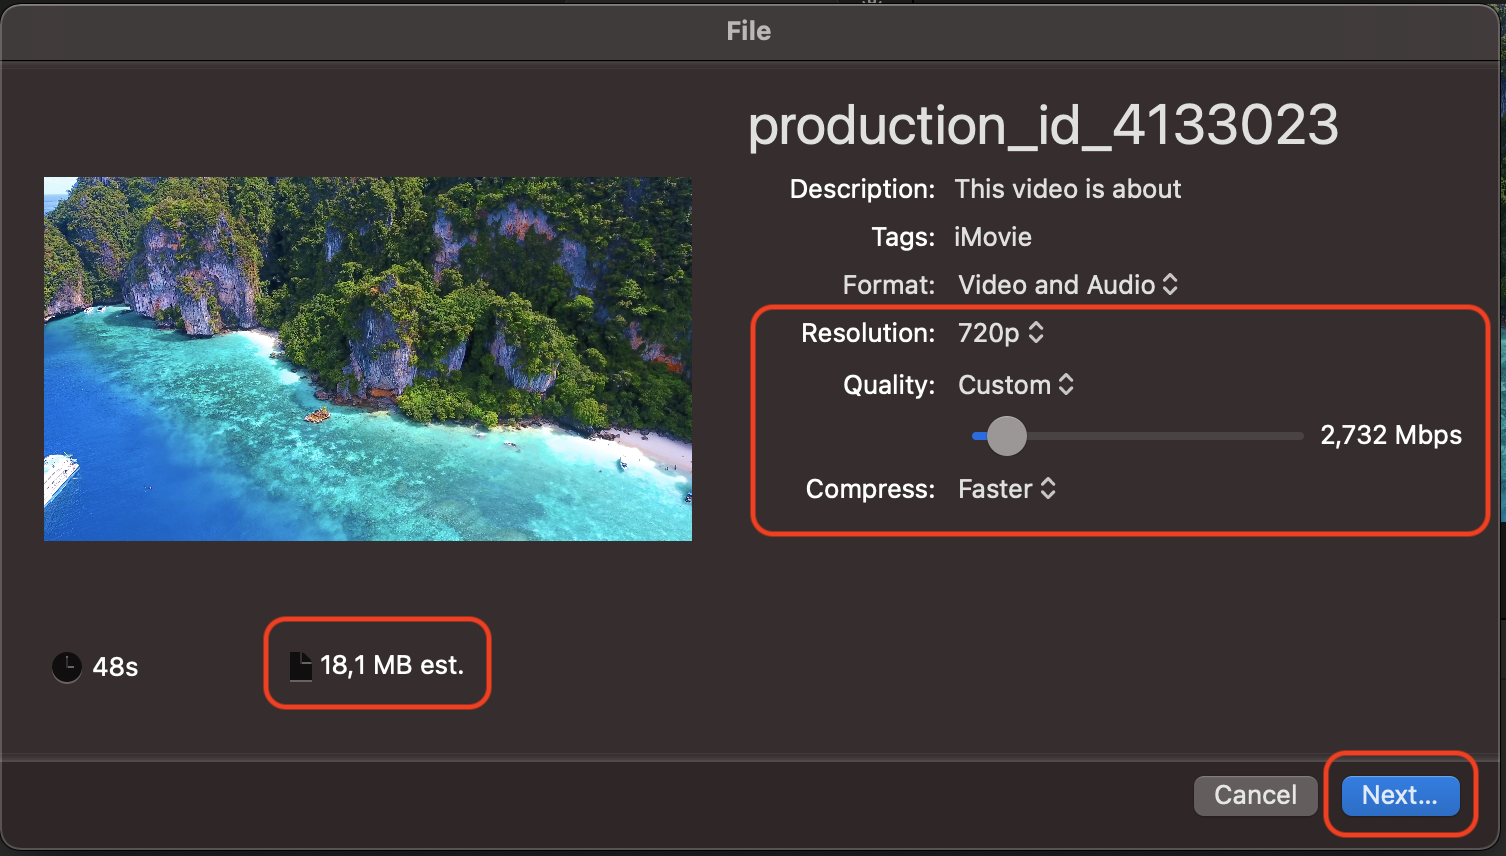
- Compress Your Video: Export your video. iMovie will compress it based on the settings you chose. Your video is now sleek and ready to navigate the vines of AirTable.
How To Reduce PDF File Size Using Preview
PDF files can be as stubborn as a mule, but here’s how to get them in line.
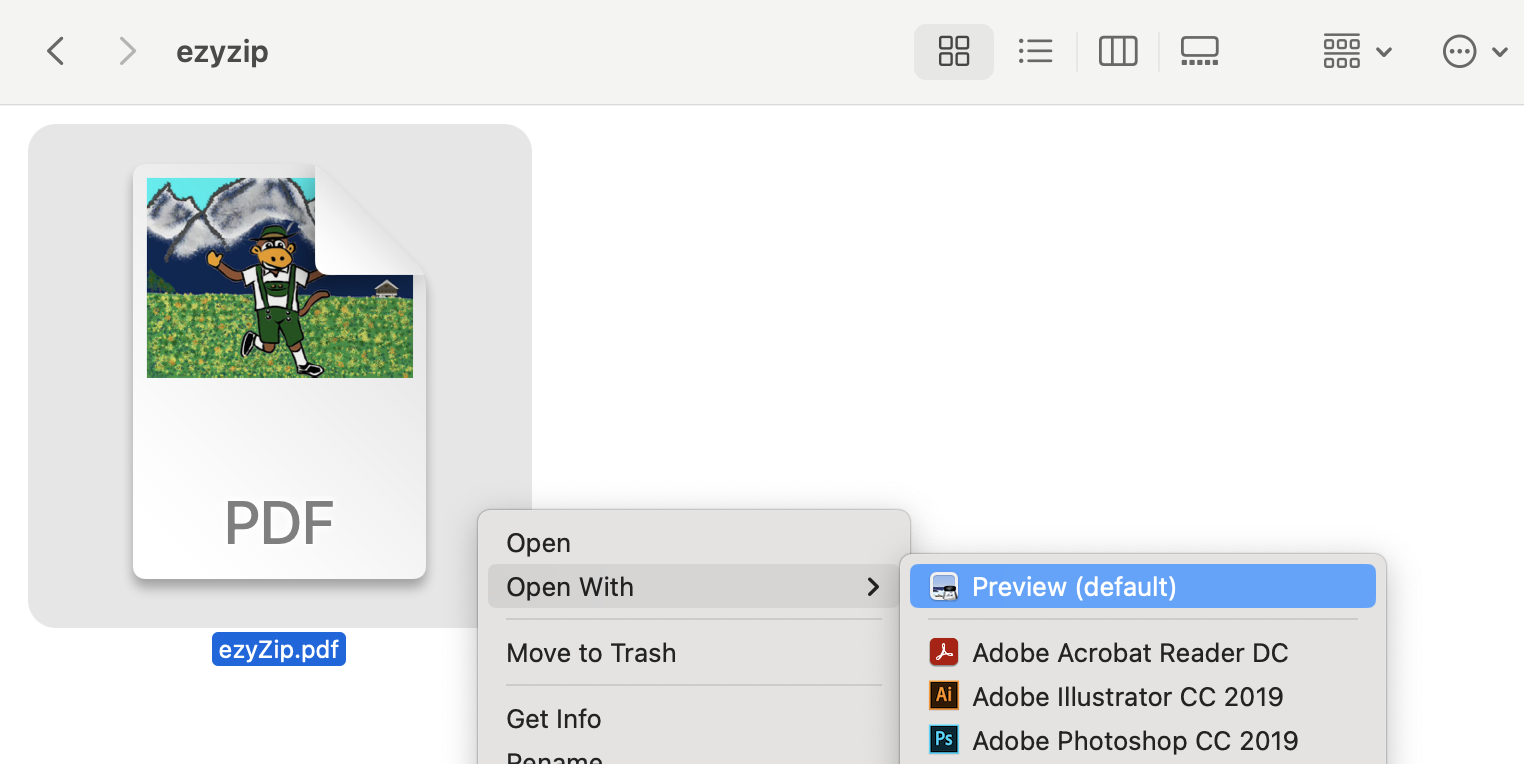
- Open PDF with Preview: Find your PDF file, right-click, and open it with Preview.
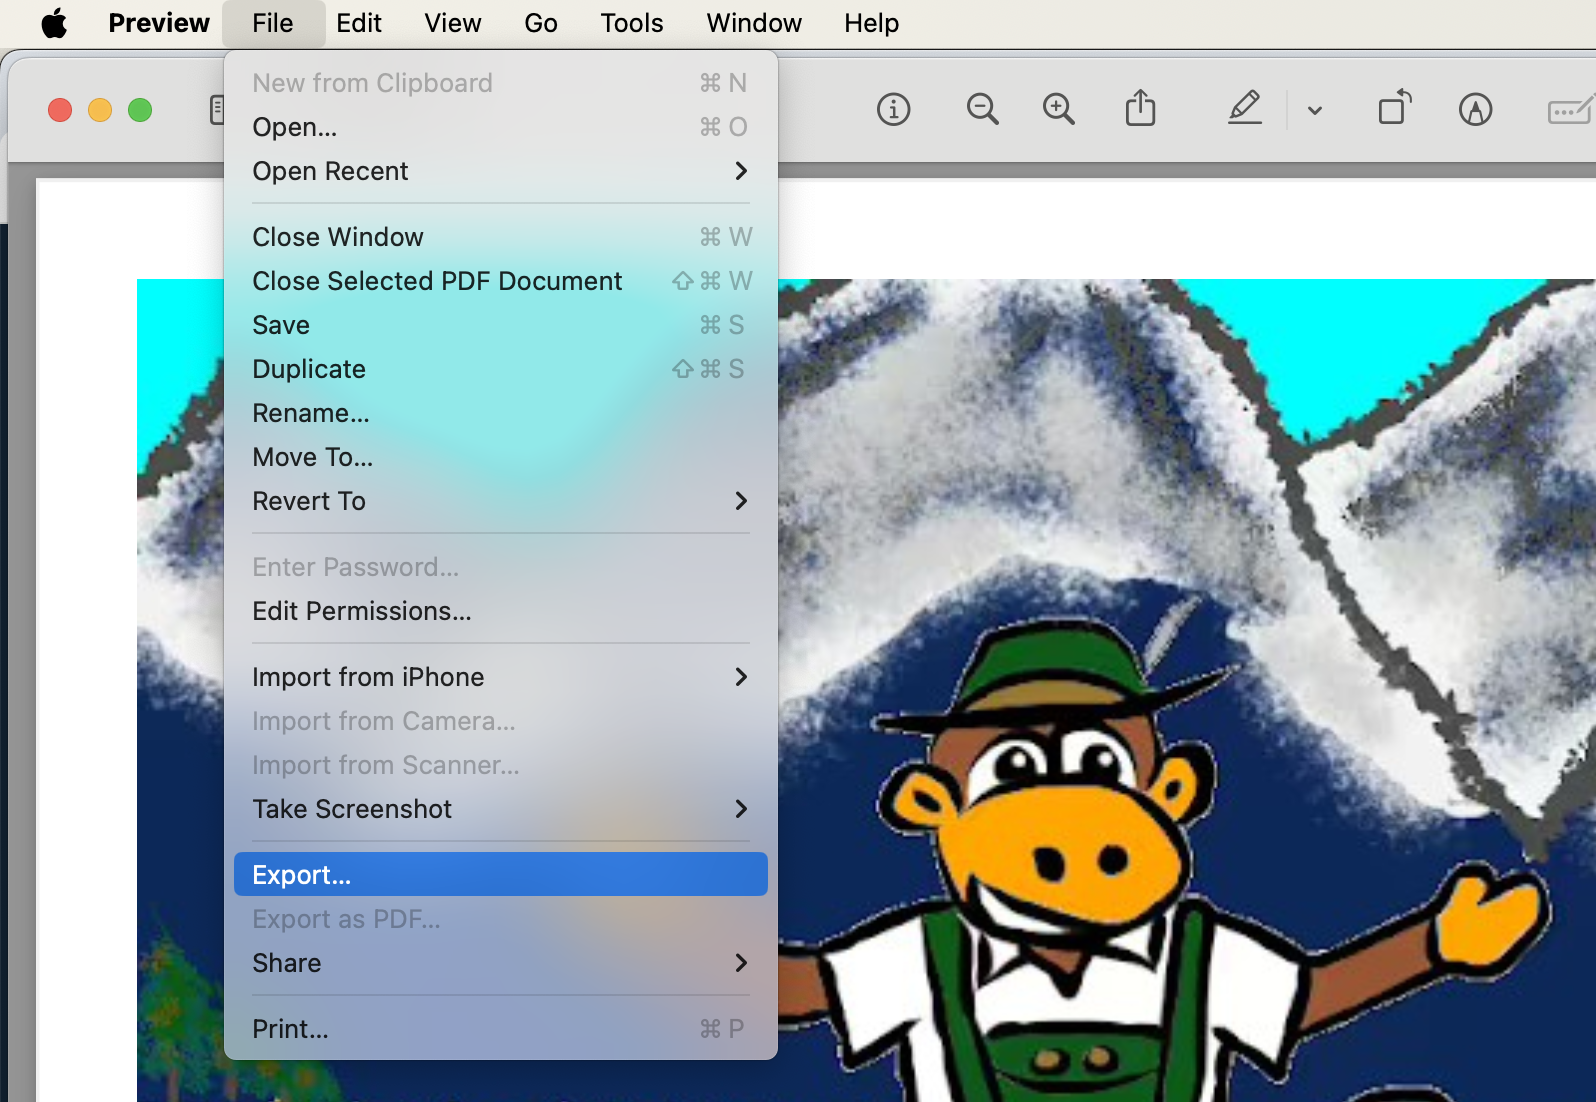
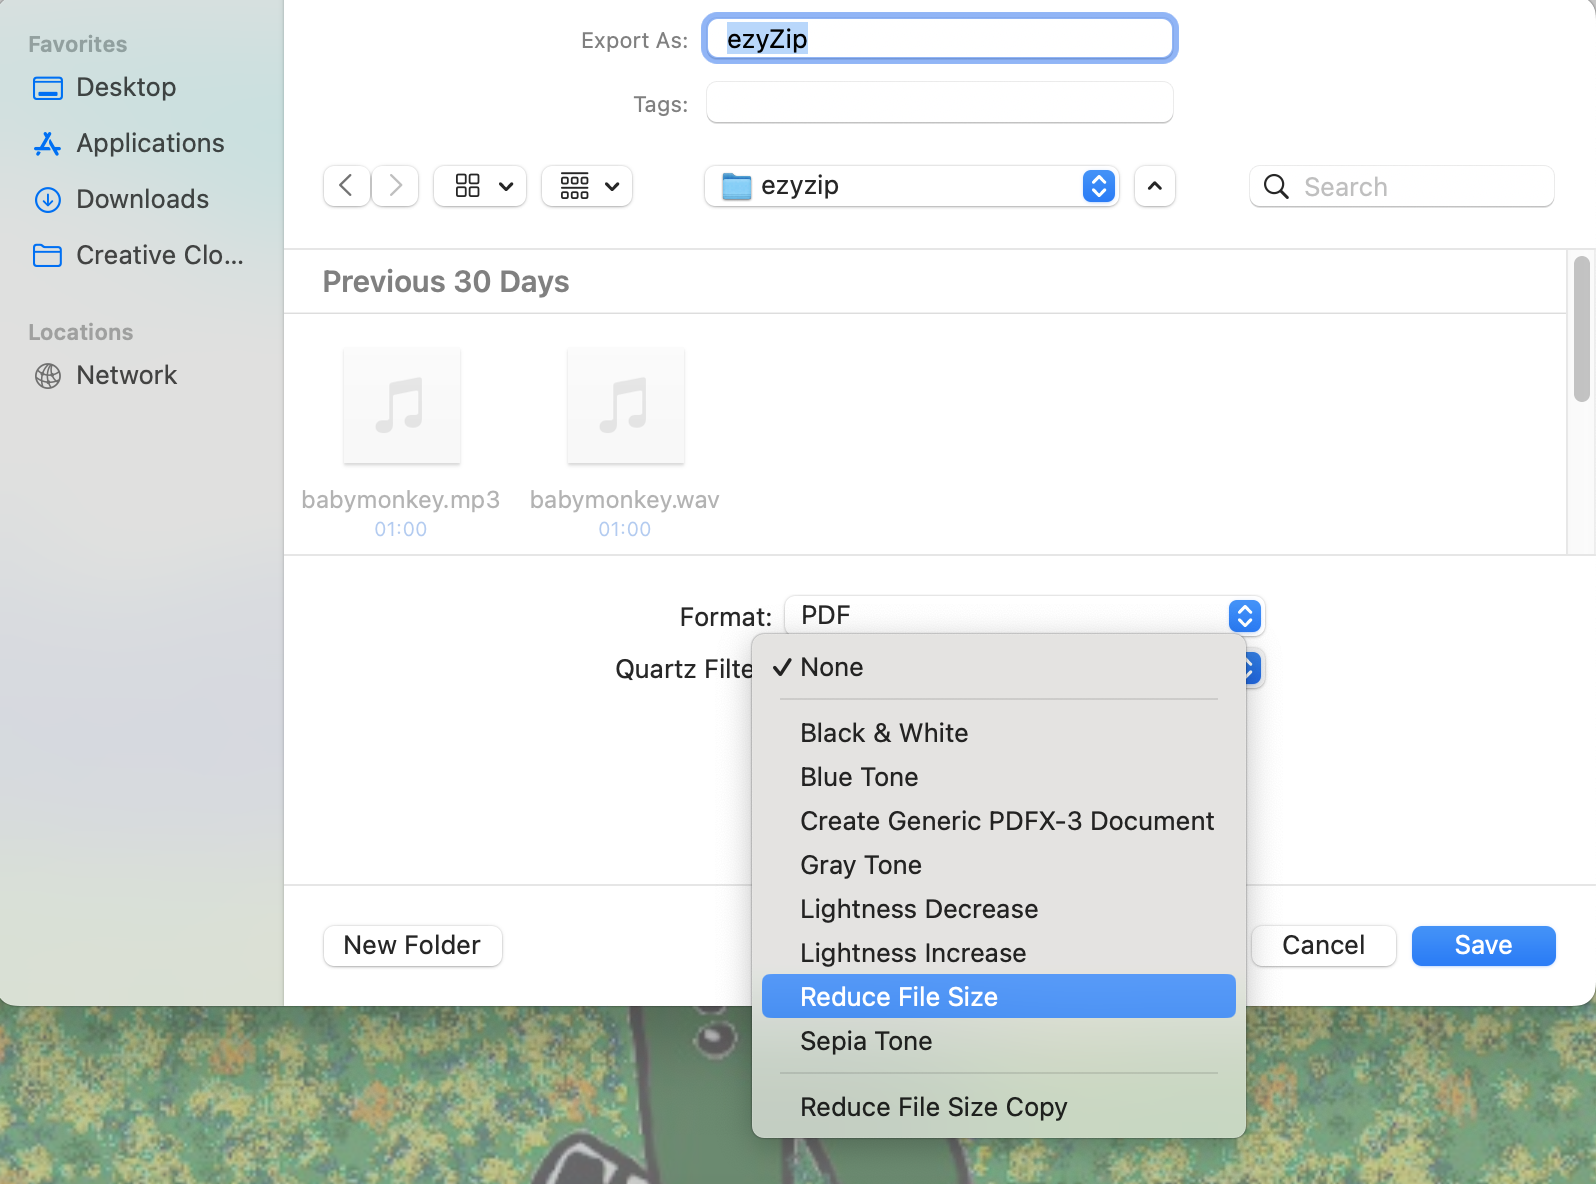
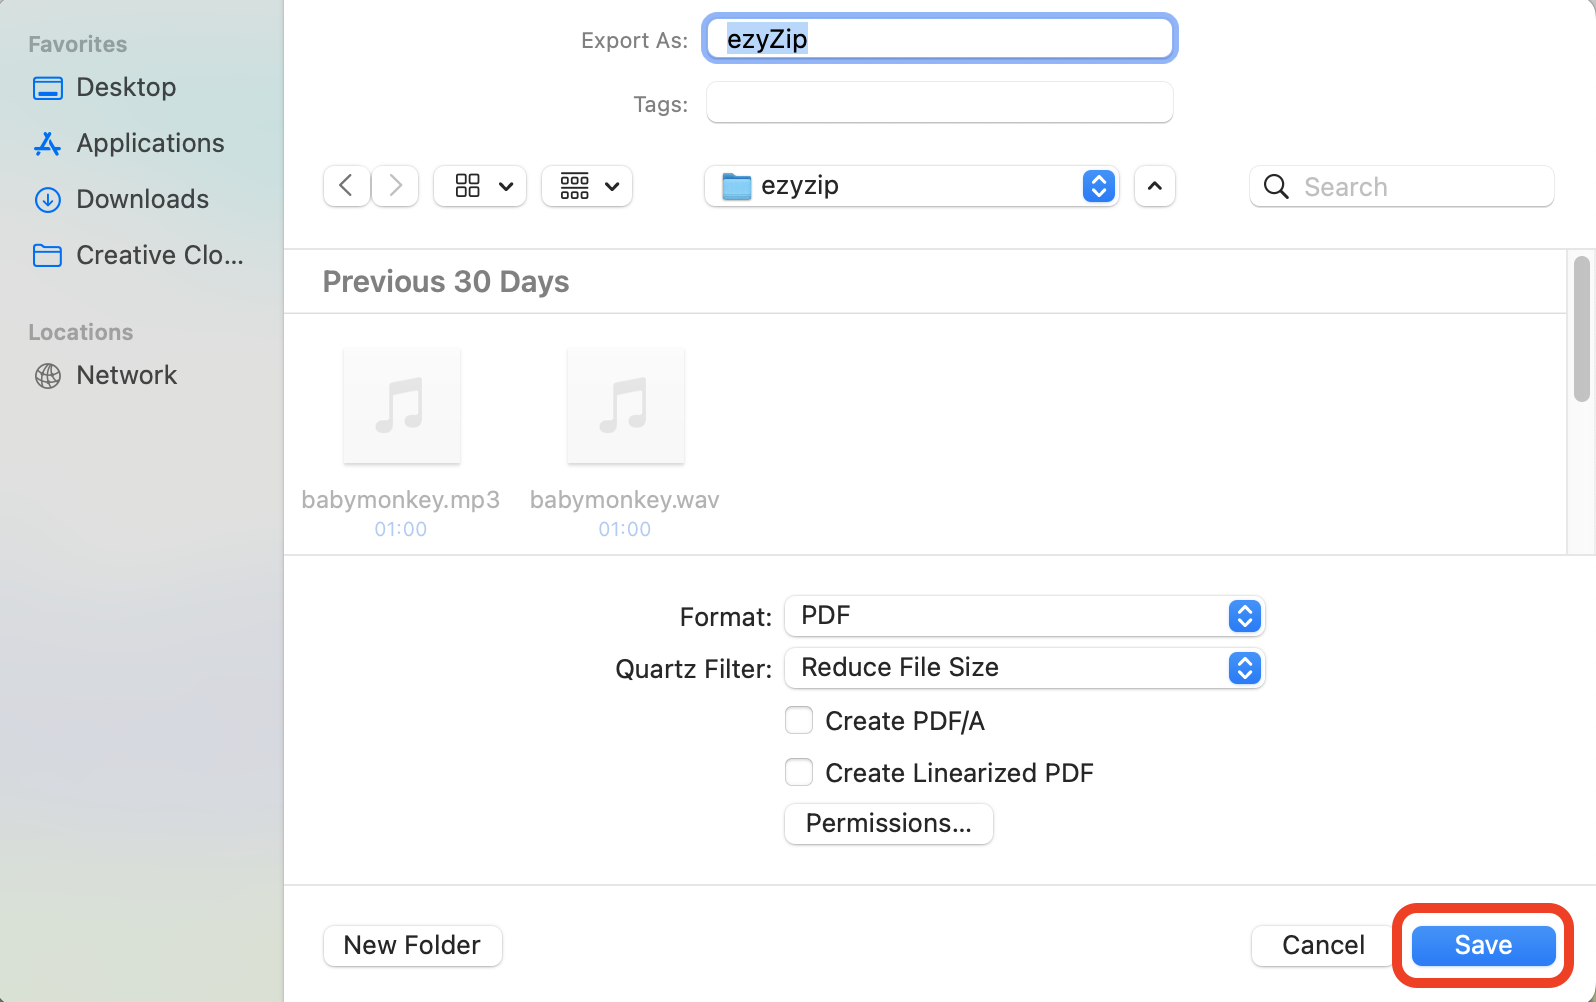
- Export with Reduced Size: Click on ‘File’ in the menu bar, then ‘Export’. Select the ‘Reduce File Size’ option in the ‘Quartz Filter’ dropdown menu. Give your file a new name and save it. This method is great for documents where image quality is less critical.
How To Reduce MP3 Size using iTunes On Mac
Is your MP3 collection taking up more space than a concert hall? Here’s how to slim it down using iTunes.
-
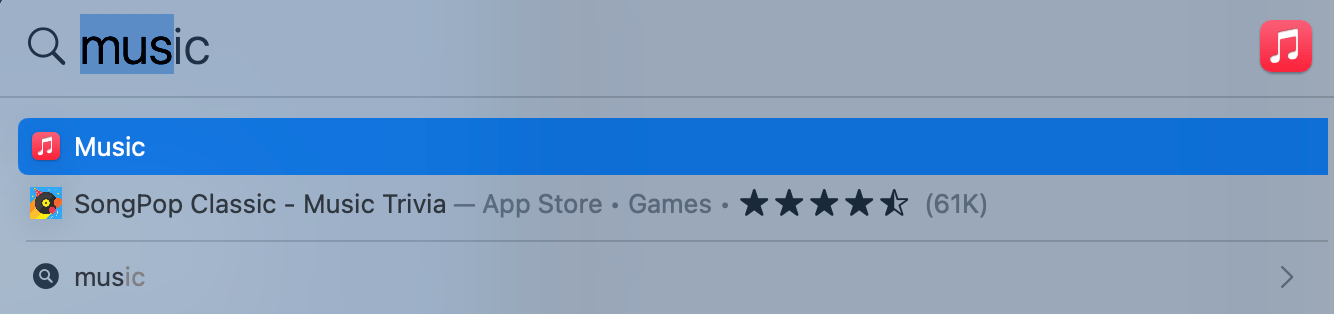
Open iTunes: Open iTunes like you’d open a fresh coconut – with relish! If you don’t have iTunes, you can download it from the https://www.apple.com/itunes/. On a Mac, search for “Music” App in Spotlight.
-
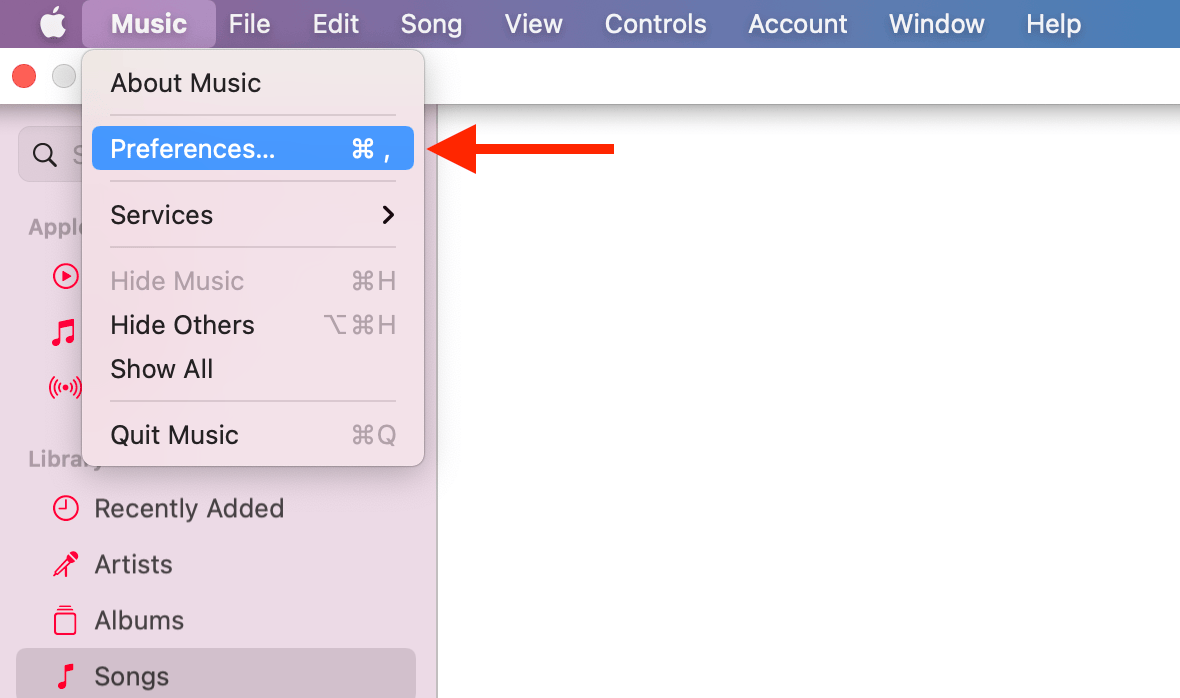
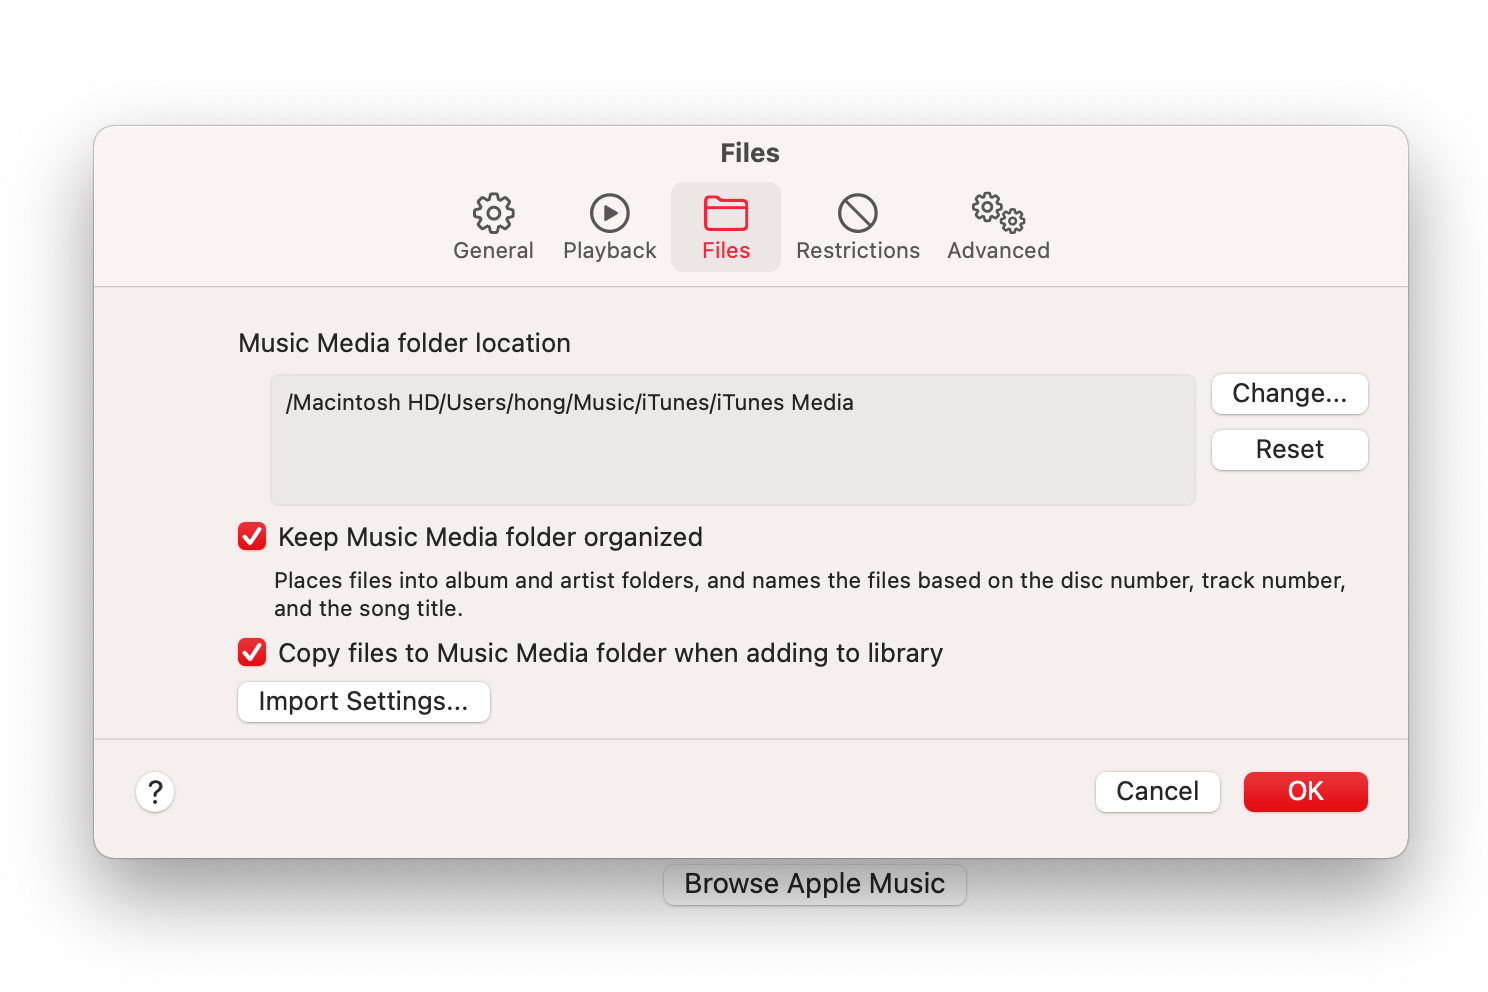
Go to Preferences: From the menu, select Edit > Preferences. This is like grooming your favorite audio pet.
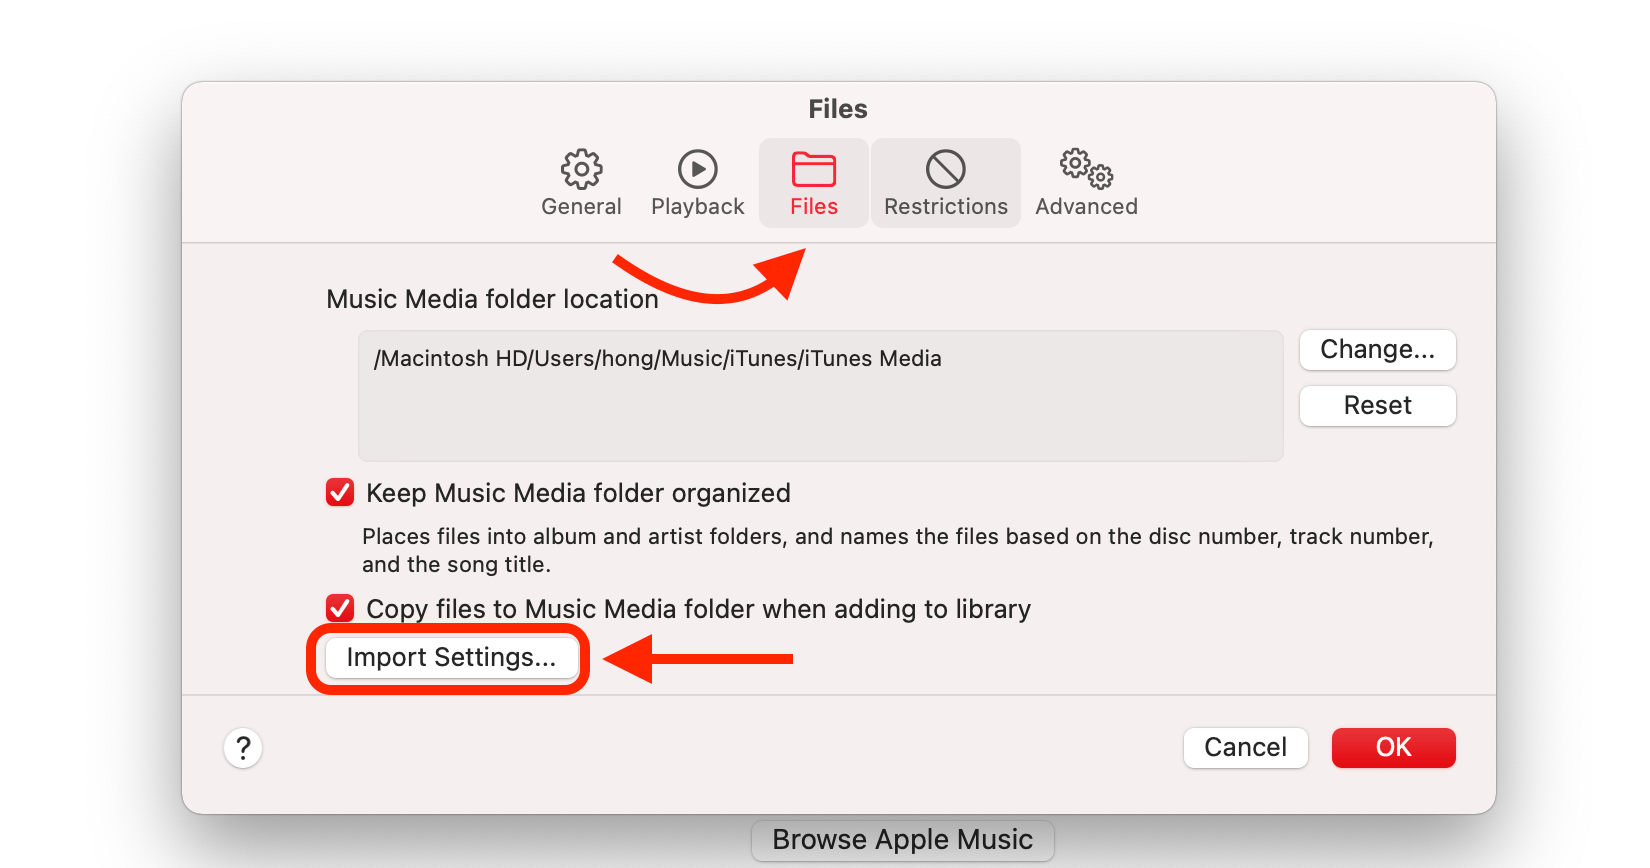
A window will open up, choose “Files” from the tabs, then click “Import Settings”
-
Adjust Settings: In the Import Settings section, select MP3 Encoder from the dropdown menu! Click “OK” to close the window.
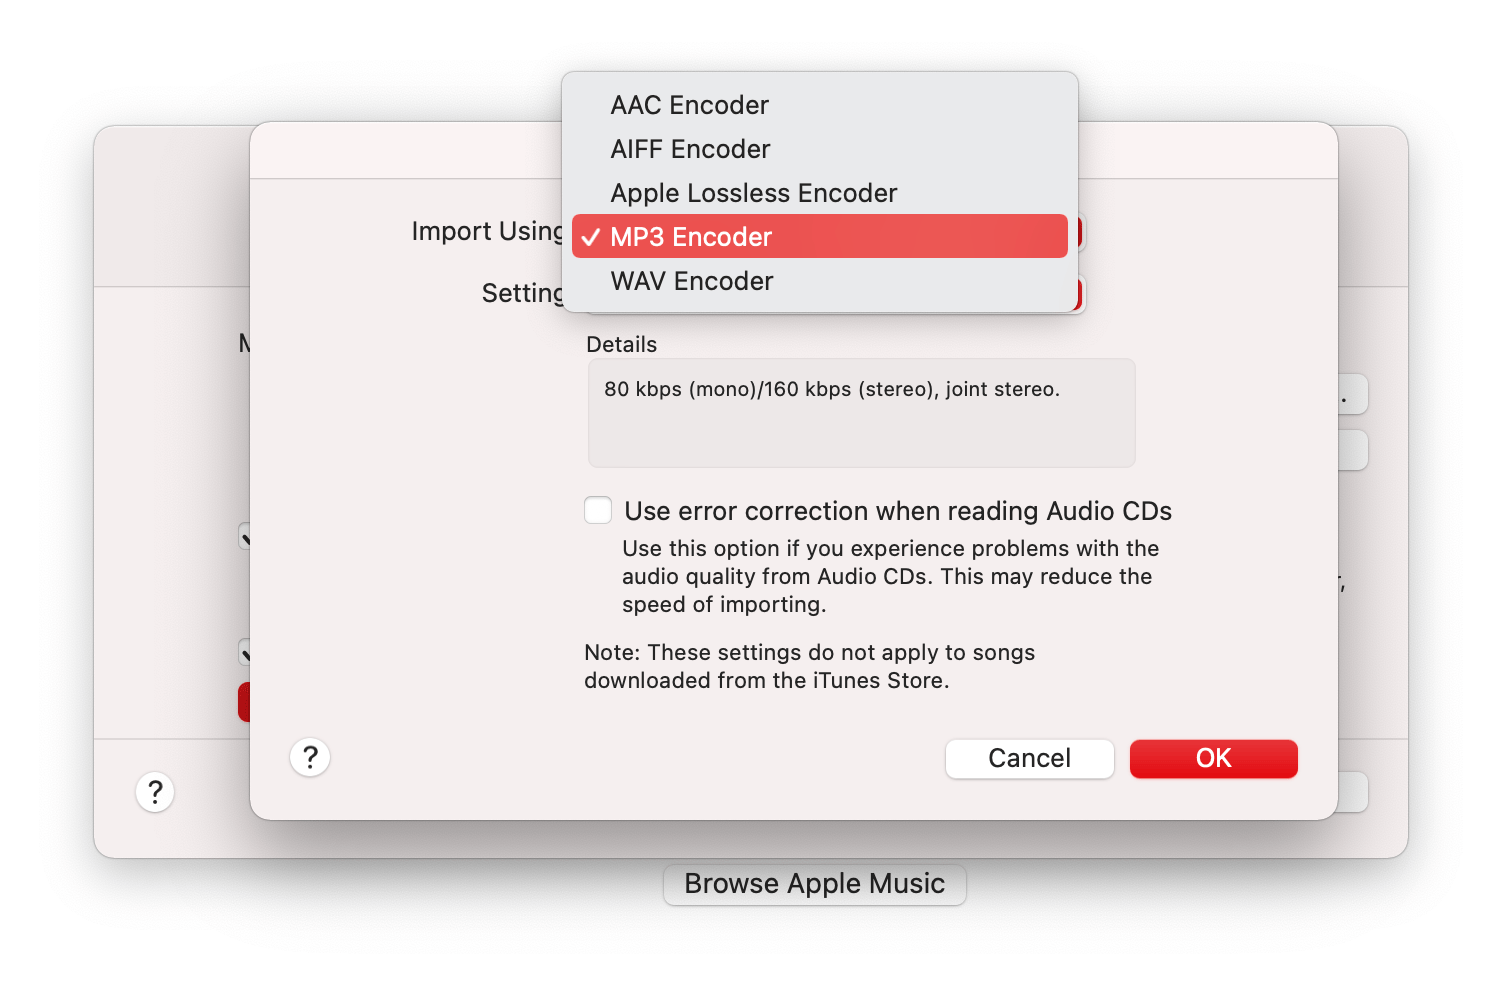
Click “OK” to return to the main app.
-
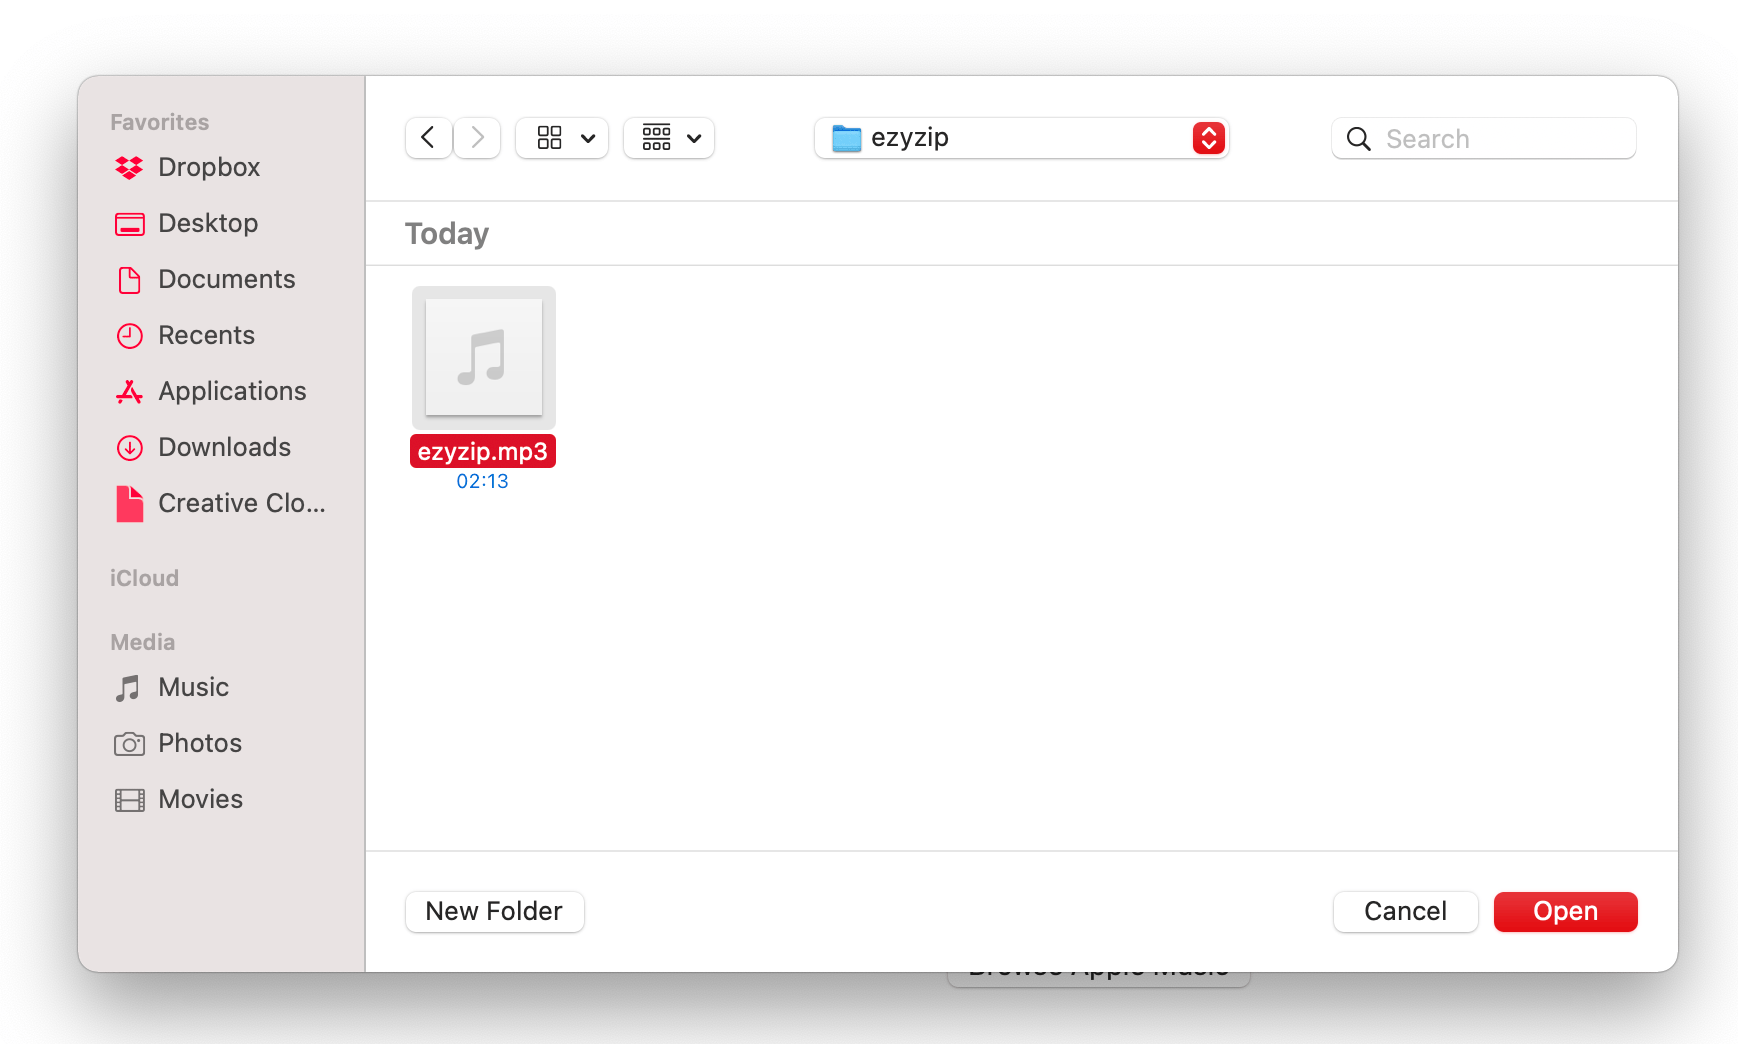
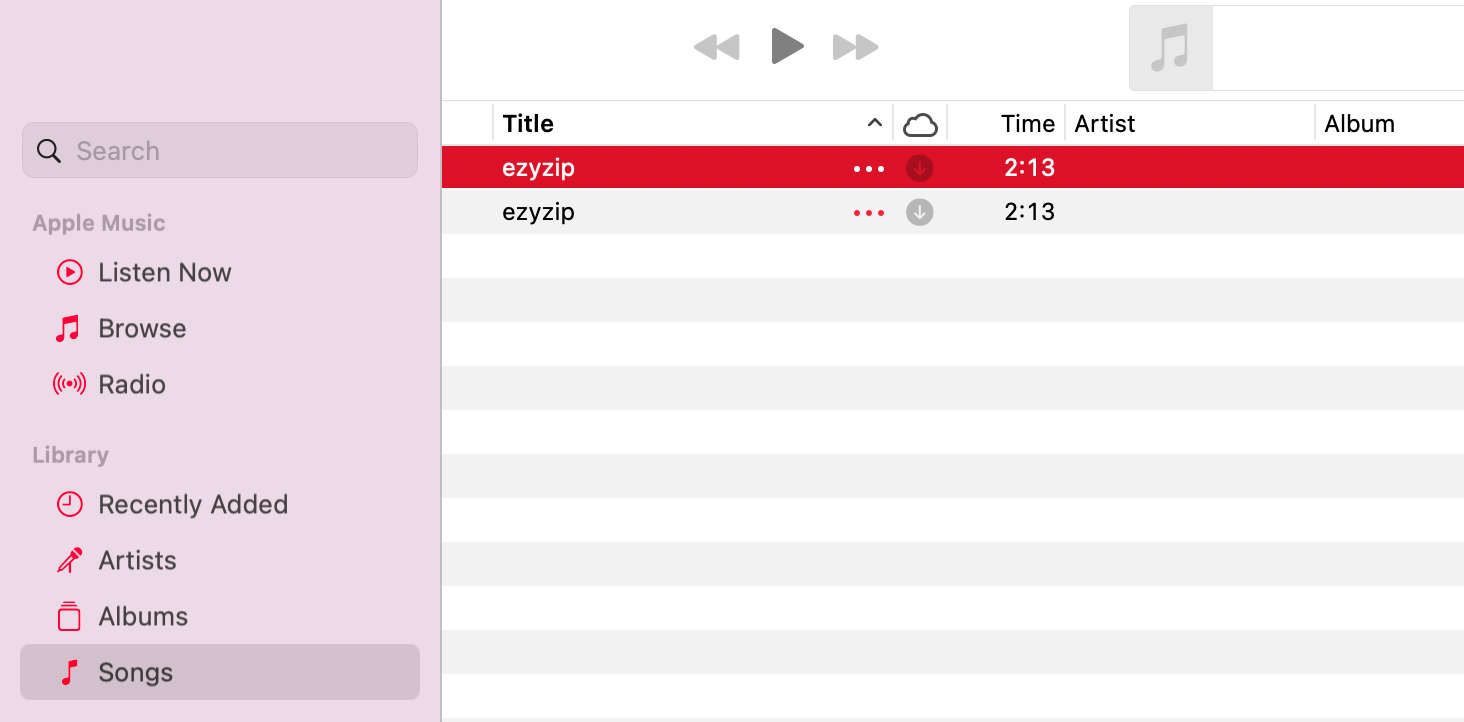
Add MP3 to Library: Click File > Import. Welcome the file to its new home.
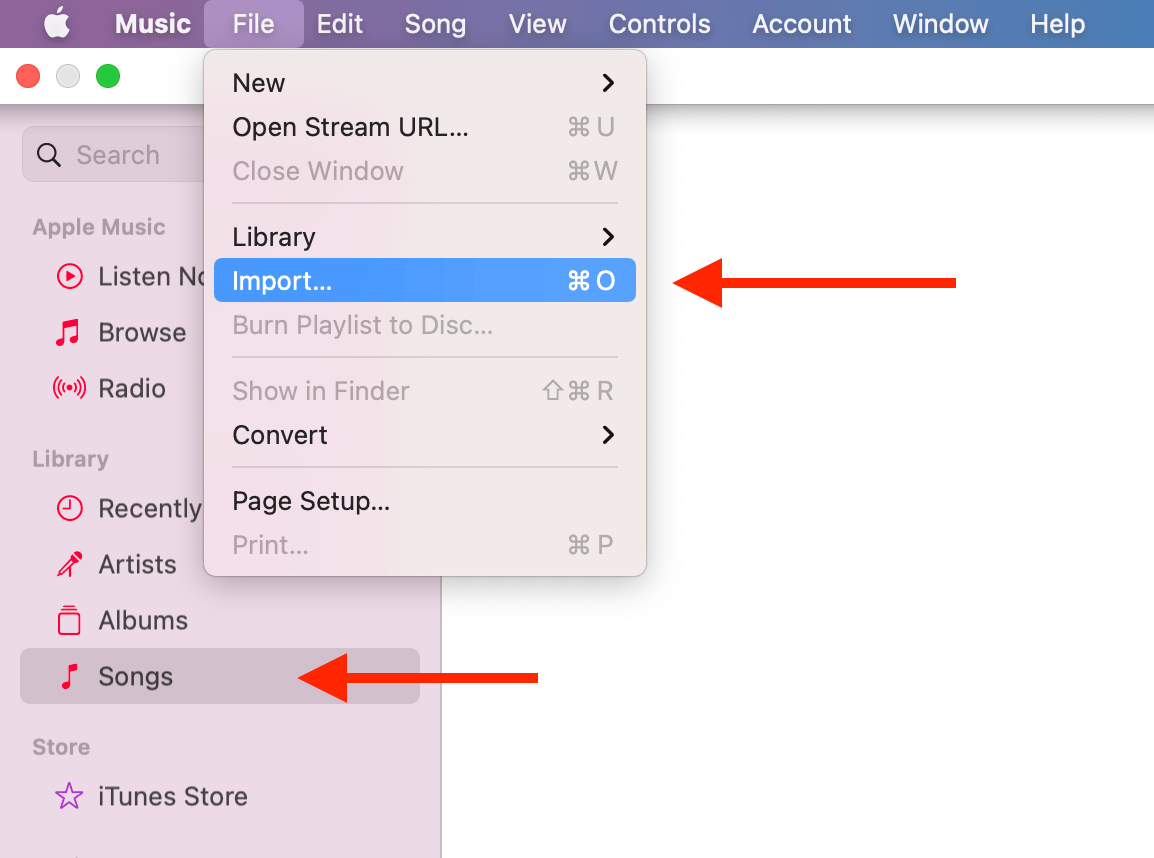
Navigate to your overweight MP3 file and select Open
-
Create New Version: Click on the MP3 file in your library.
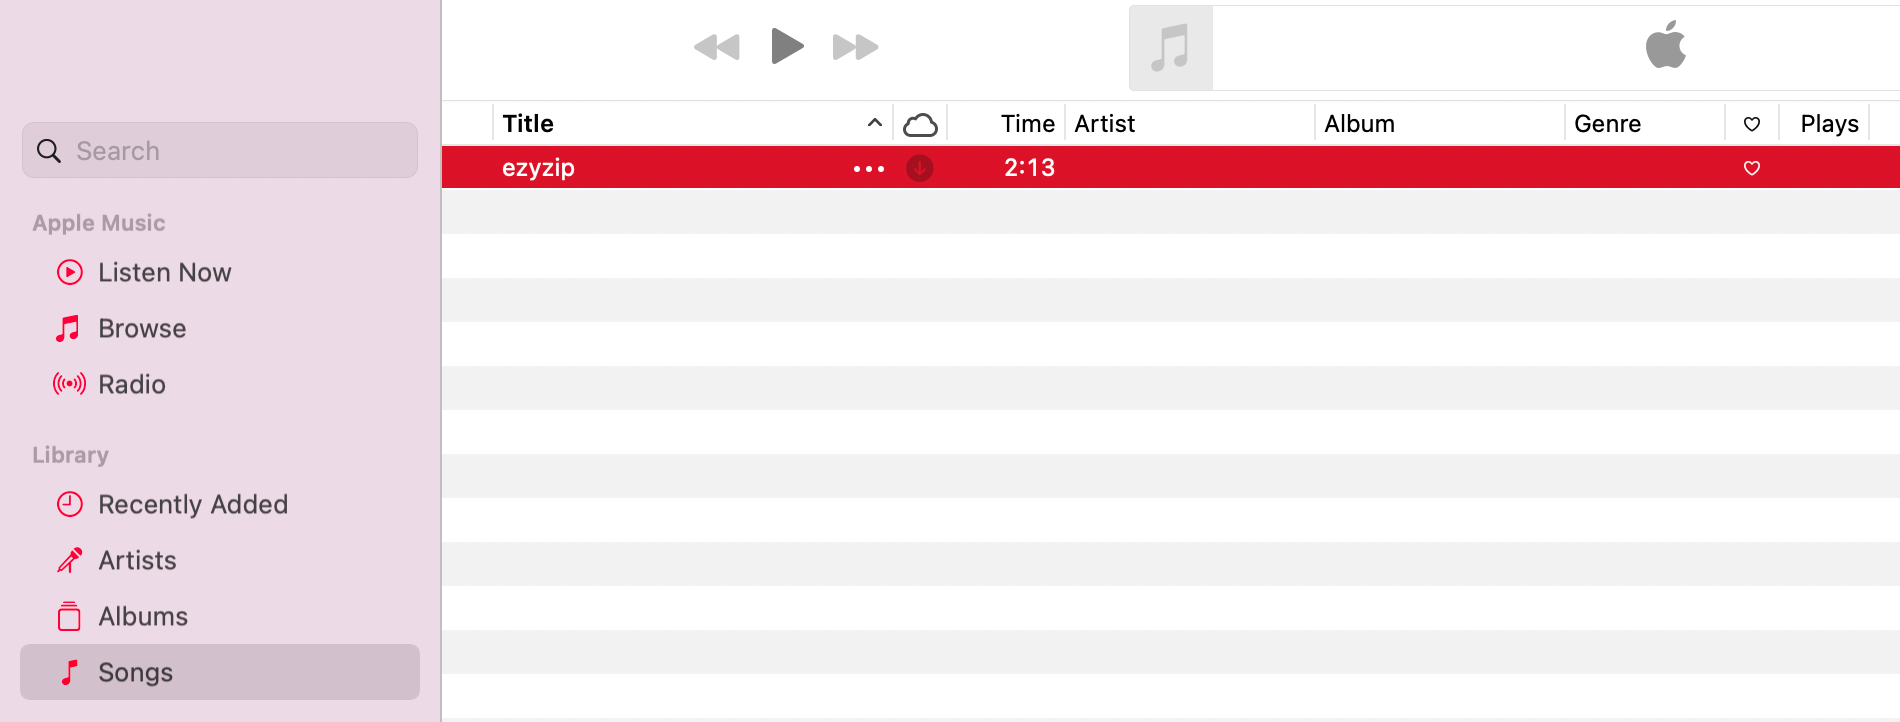
Go to File and select Convert > Create MP3 Version
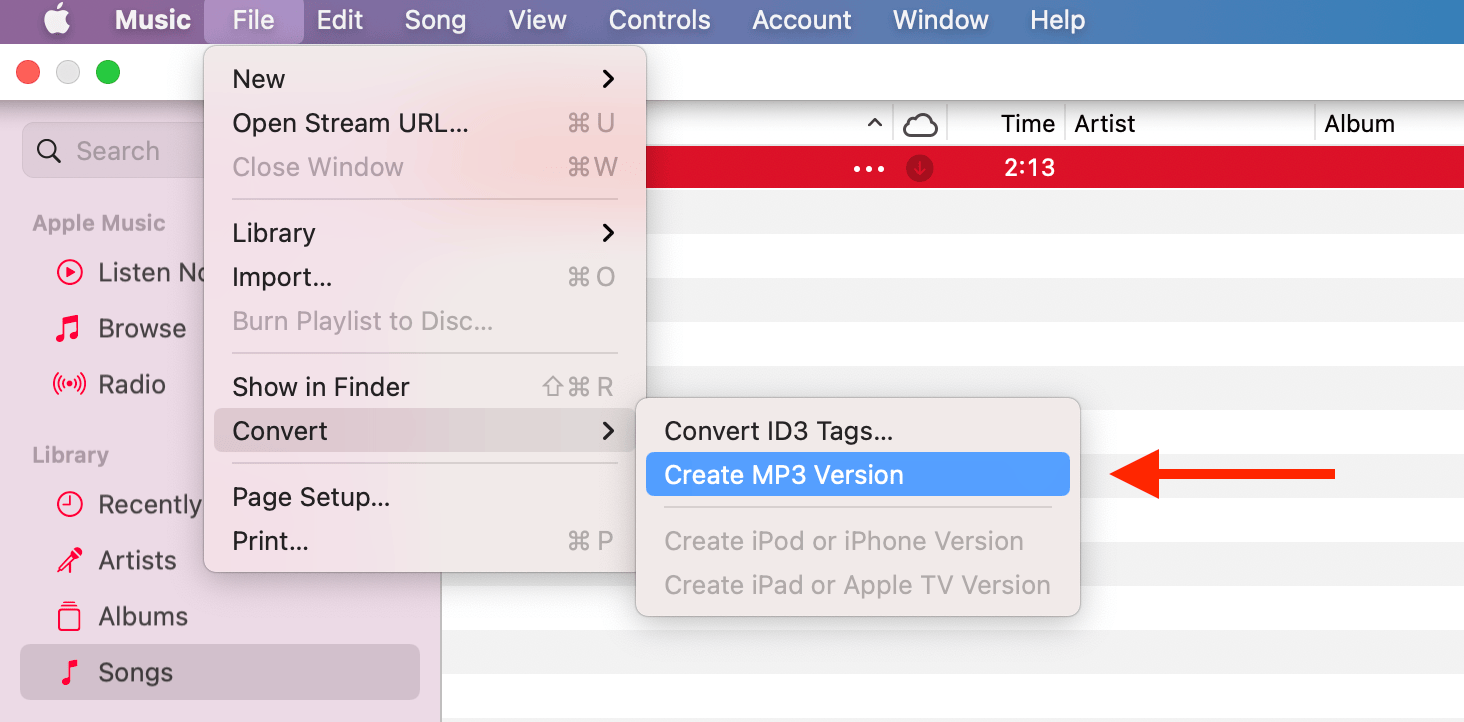
Voila! Your MP3 has lost some weight, and it wasn’t even on a banana-only diet!
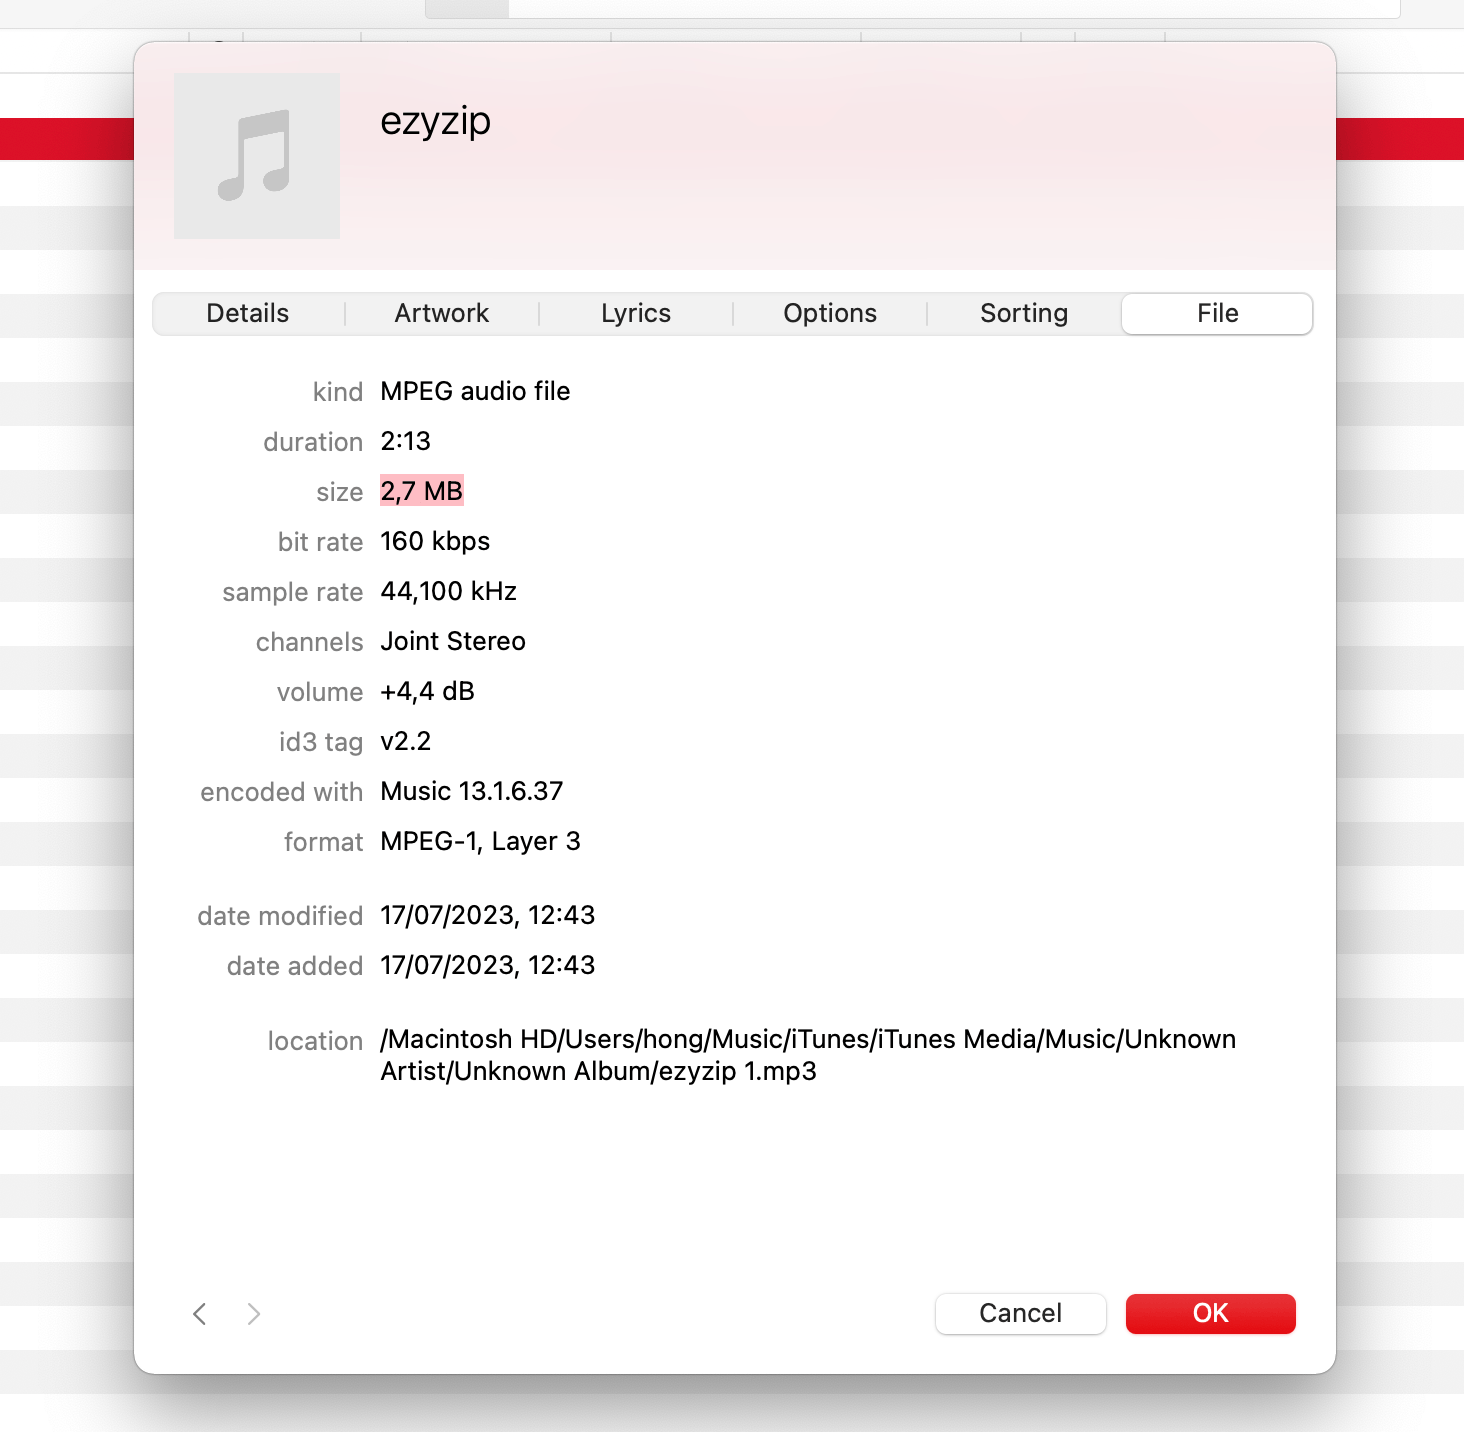
Right click on the new file and choose “Get Info”
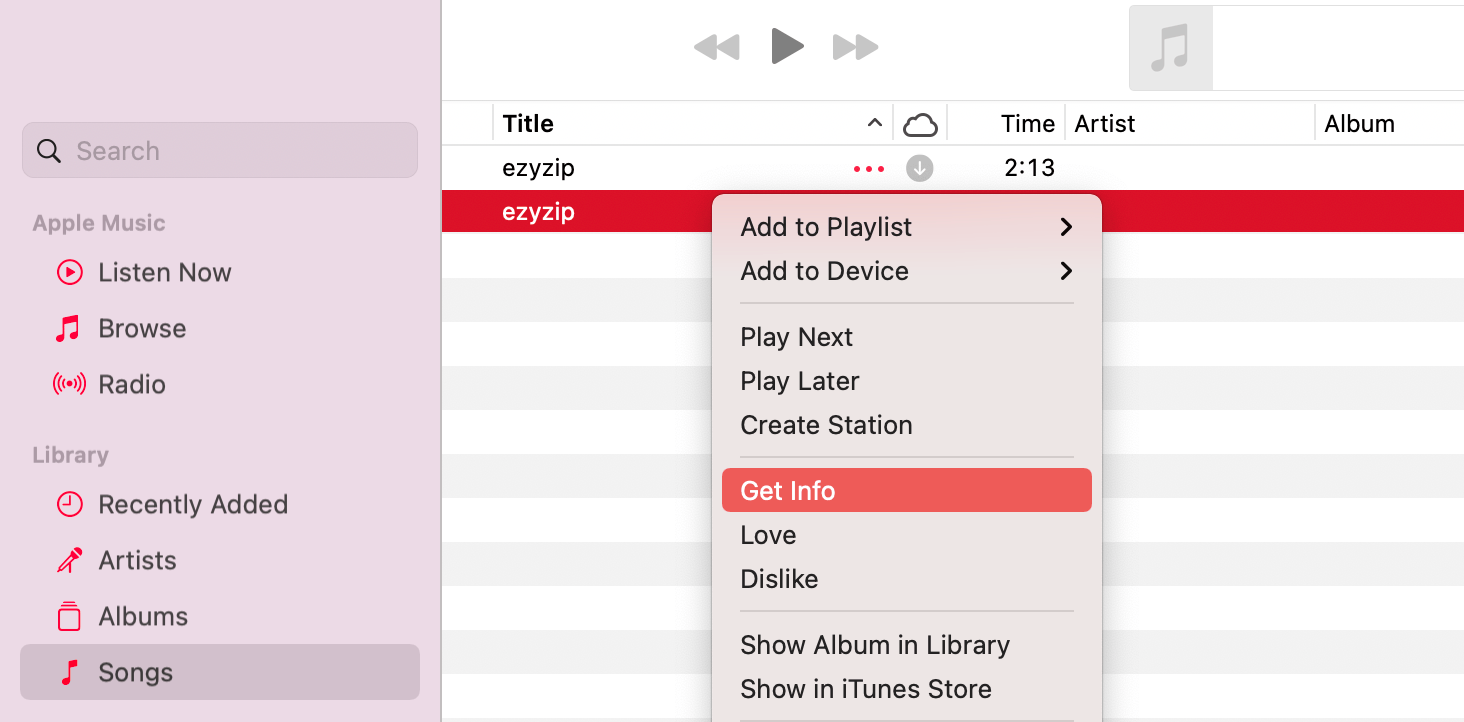
On the “File” tap you can see that the file size has been reduced to 2.7mb, from 5mb in the original version.
-
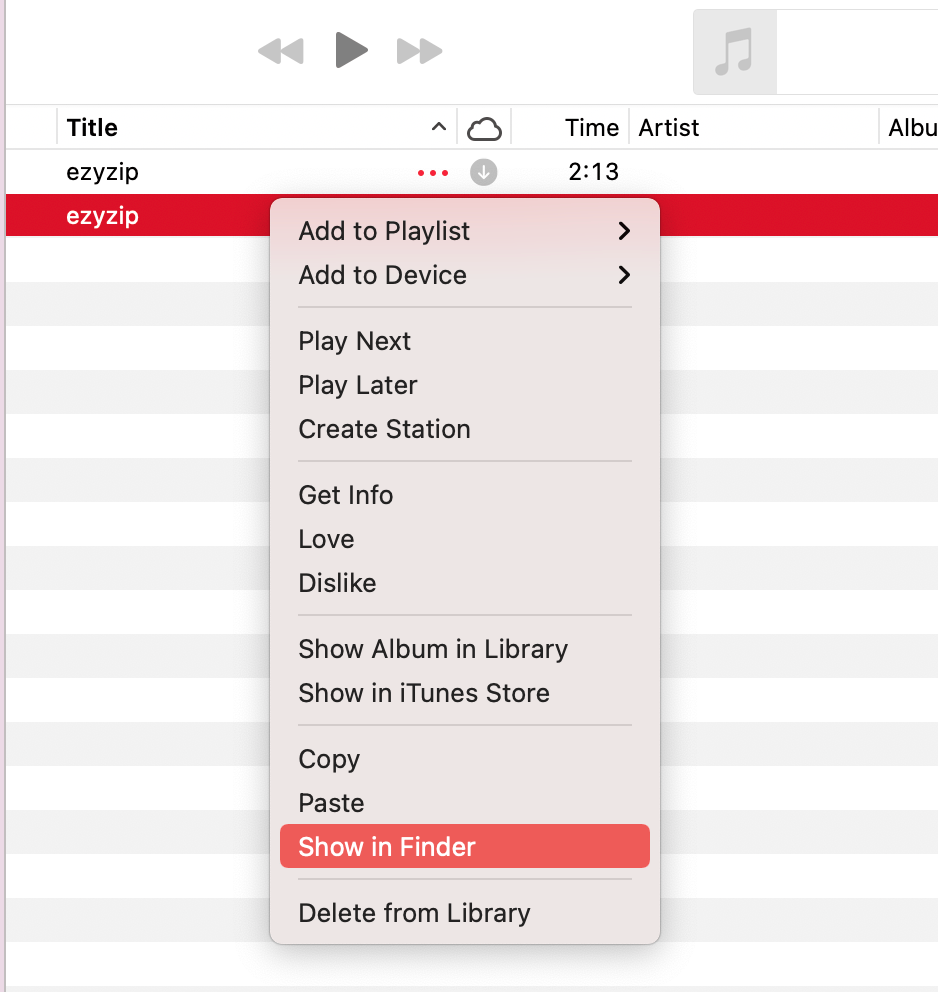
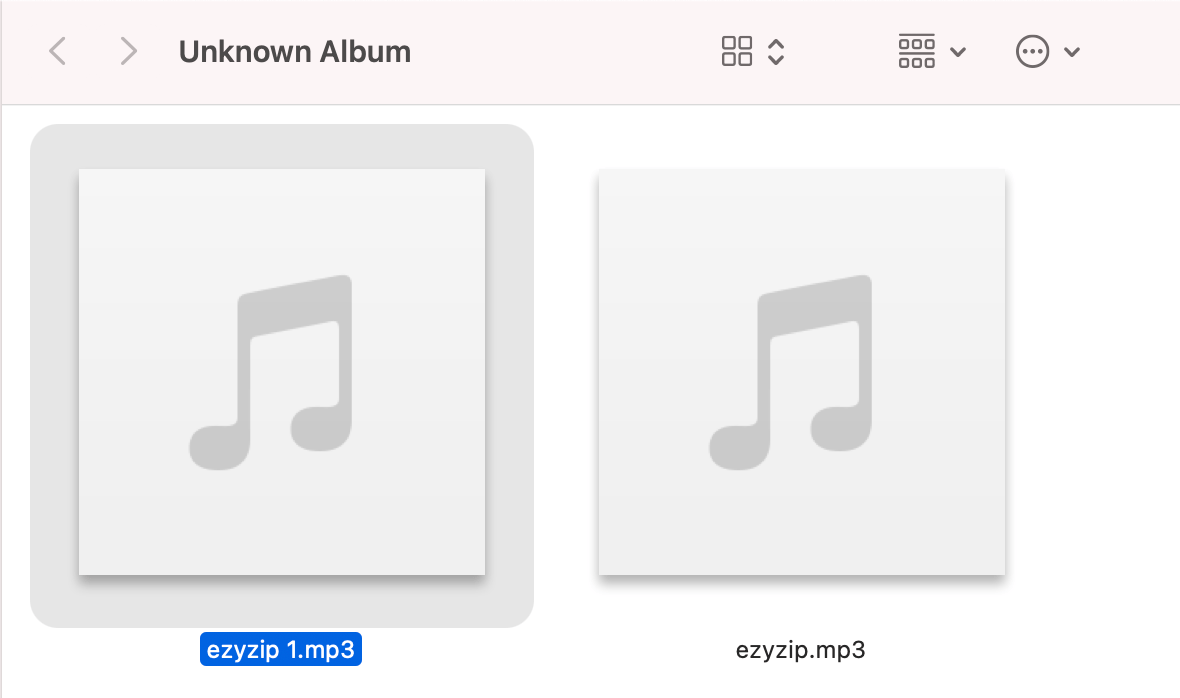
Locate Your New File: Right click on the MP3 file in your library and choose “Show in Finder”. The file destination will be opened for you.
Remember, trimming these audio vines might lead to slight quality drops, but often it’s worth it to keep your digital jungle clean and free for more monkey business! Happy pruning!
Frequently Asked Questions About Making Files Smaller on Mac
Can I compress an app to save space?
Compressing applications on Mac is not recommended as it can affect functionality. Instead, consider removing unused apps or clearing cache files.
Does compressing files reduce their quality?
Yes, compressing files, especially images and videos, can reduce their quality. It’s important to find a balance between file size and acceptable quality.
How can I quickly free up space on my Mac without compressing files?
Try cleaning up large and old files, uninstalling unused apps, or using a tool like CleanMyMac to remove junk files.
By following these steps, you can ensure that your Mac is more like a nimble monkey, quick and efficient, rather than a sluggish elephant. Happy compressing!